A 7-Step Guide Fiberglass Pool Installation
Do you dream of having a gleaming fiberglass swimming pool in your backyard oasis? At PoolForce, we transform dreams into reality, creating the perfect summer escape in your backyard. Dive in with us as we explore the intricate process of fiberglass pool installation and discover how easy it can be when you choose PoolForce as your professional pool builder. Fiberglass pools, if properly maintained, can last a lifetime. Some fiberglass swimming pools that were put in around 50 to 60 years ago are still in use today! Although these sturdy inground pools can survive for decades, it’s crucial to bear in mind that their durability depends on a number of variables, including routine maintenance, climate, and appropriate installation.
From initial backyard preparations to when you take your first refreshing dip, our team is committed to providing a seamless and hassle-free pool installation experience. Let’s break down the process into seven detailed steps to show you exactly what to expect when you’re ready to make your dream pool come true.

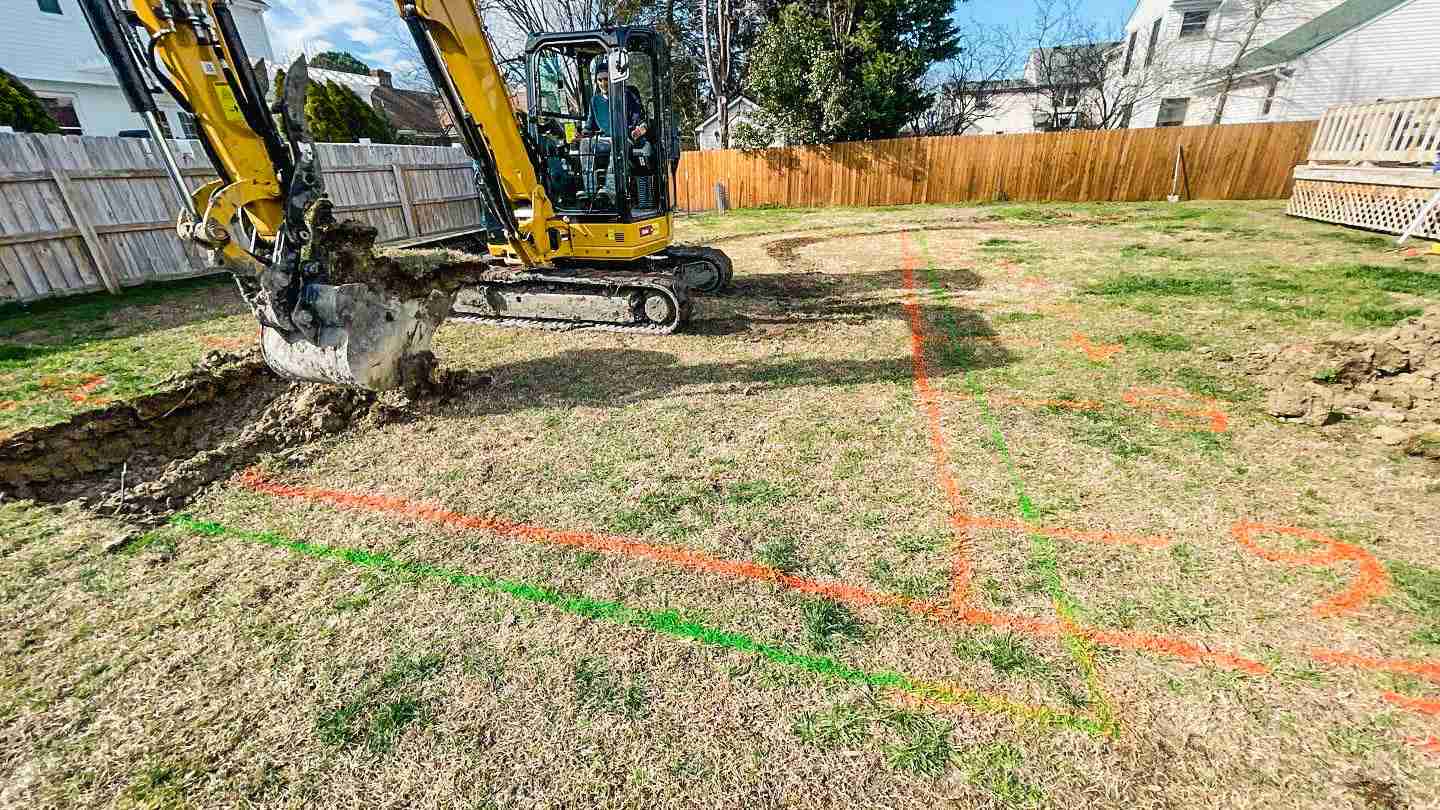
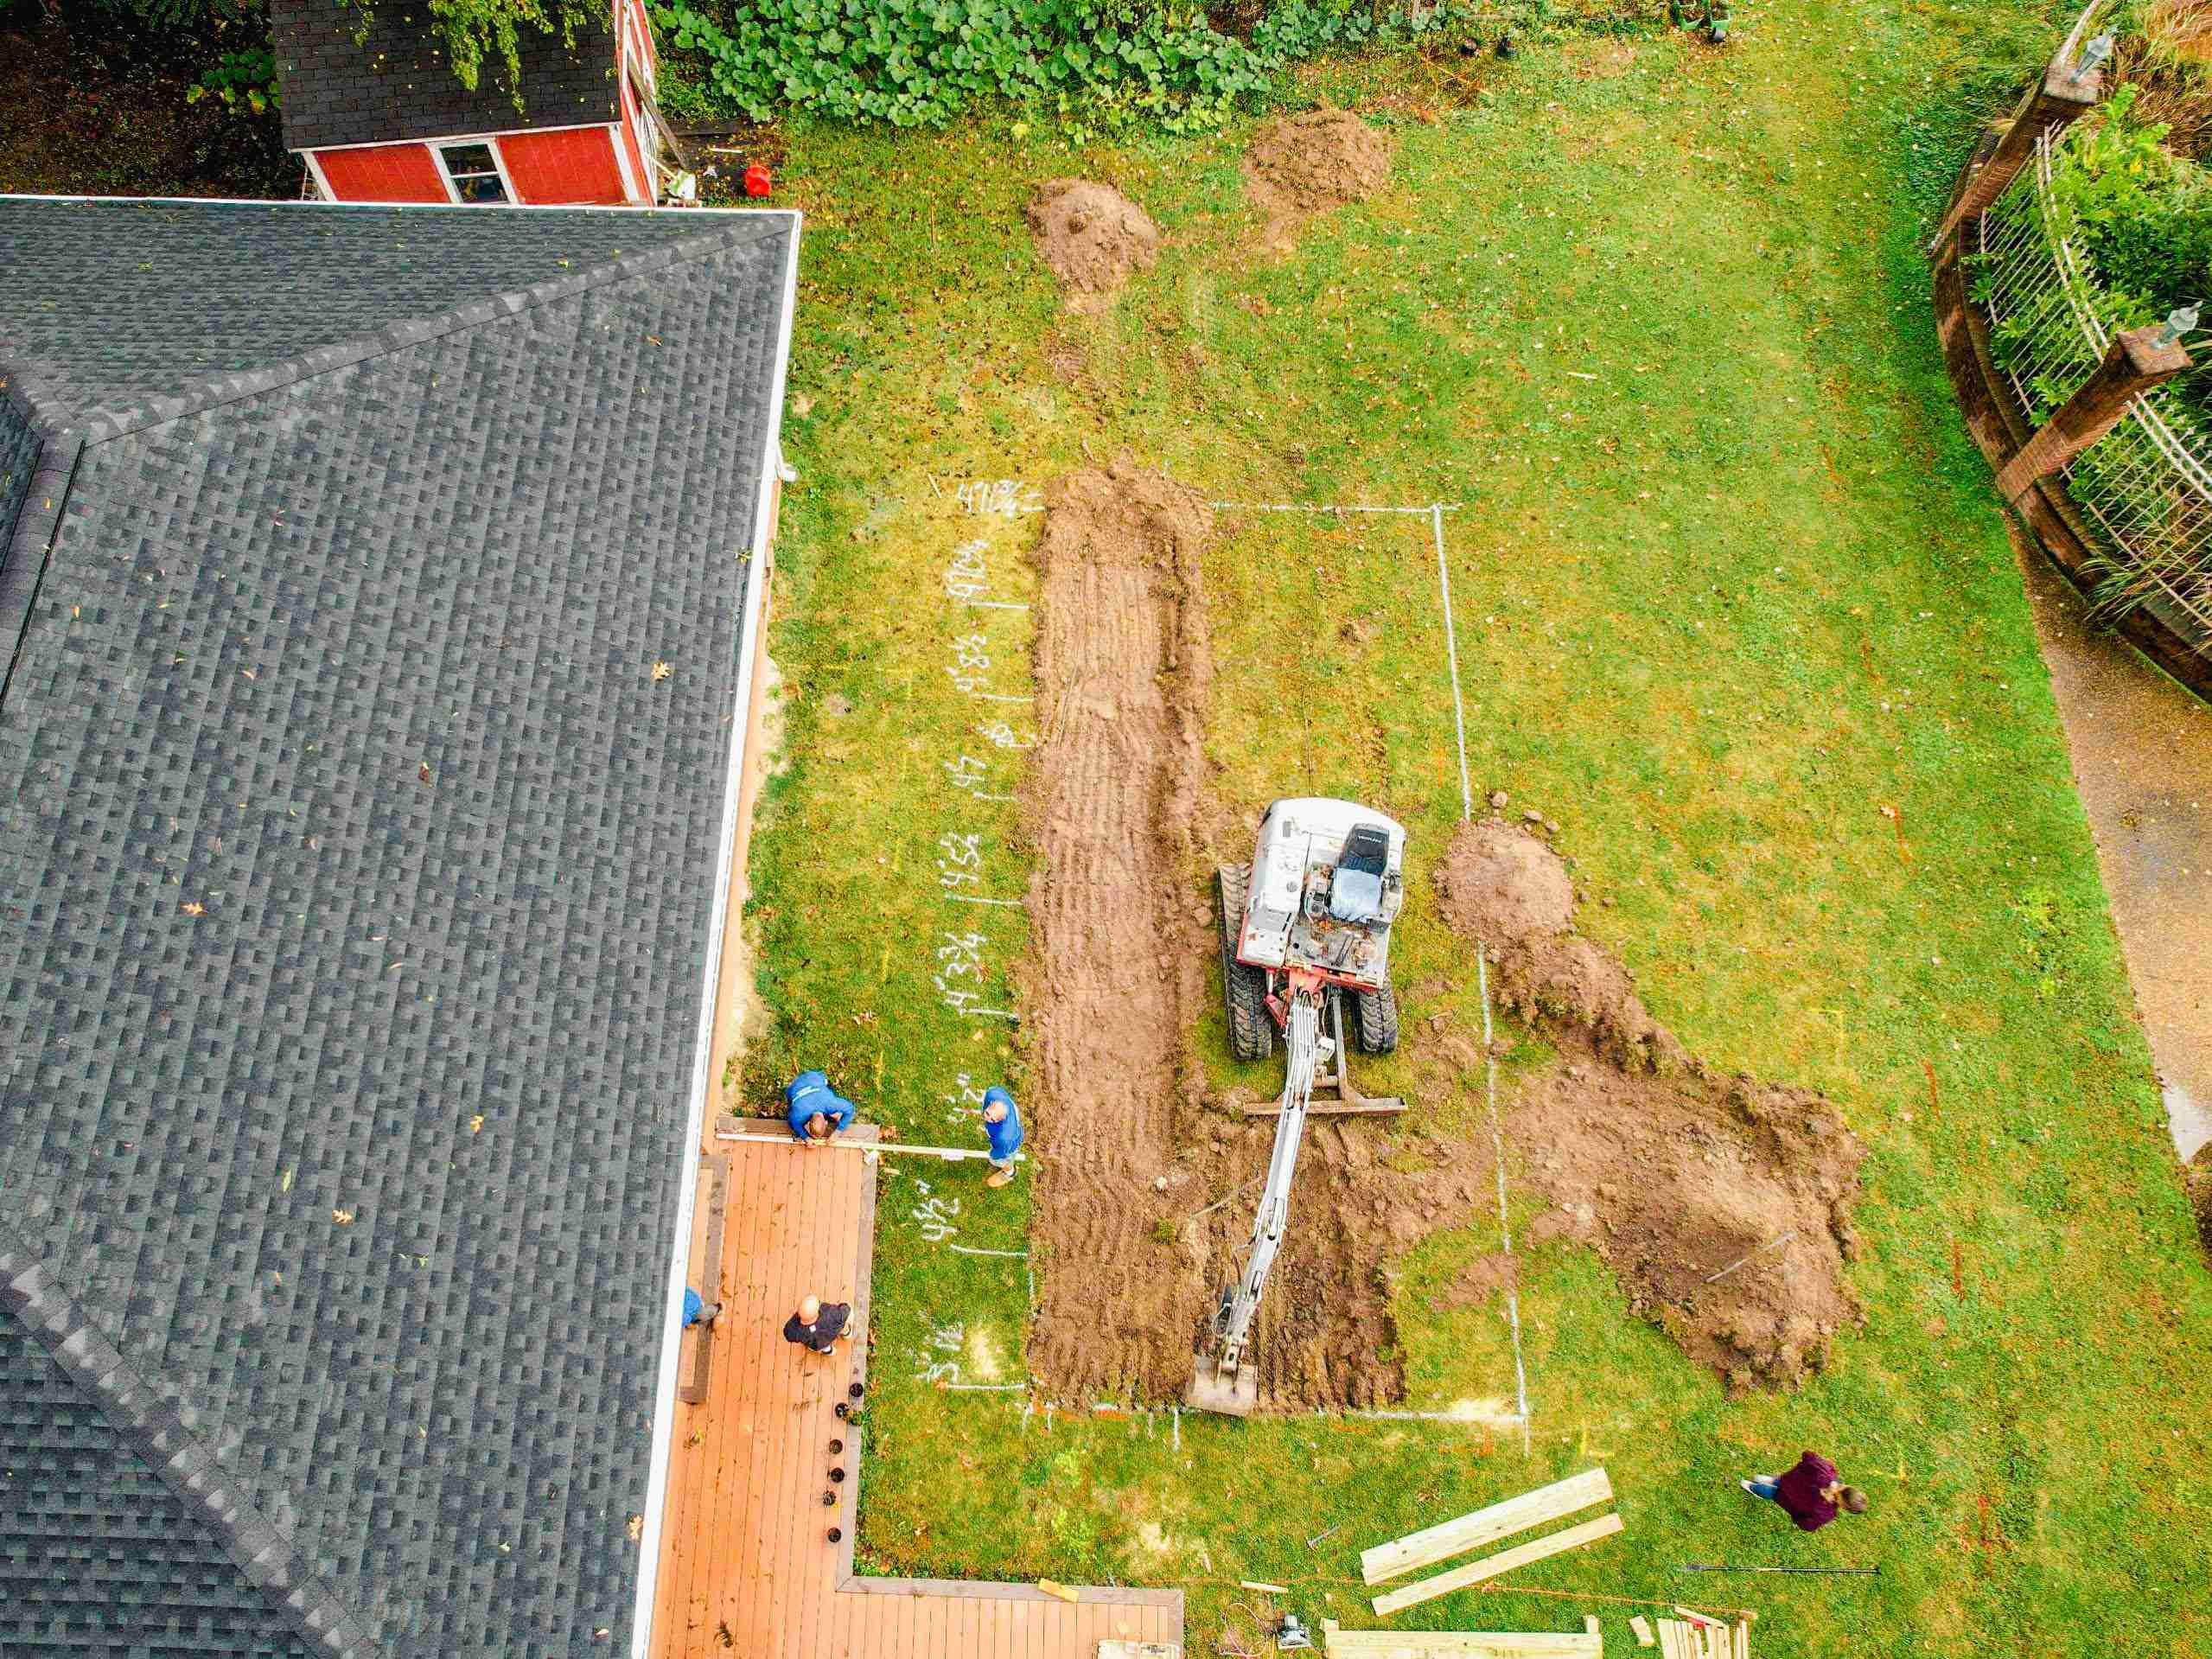
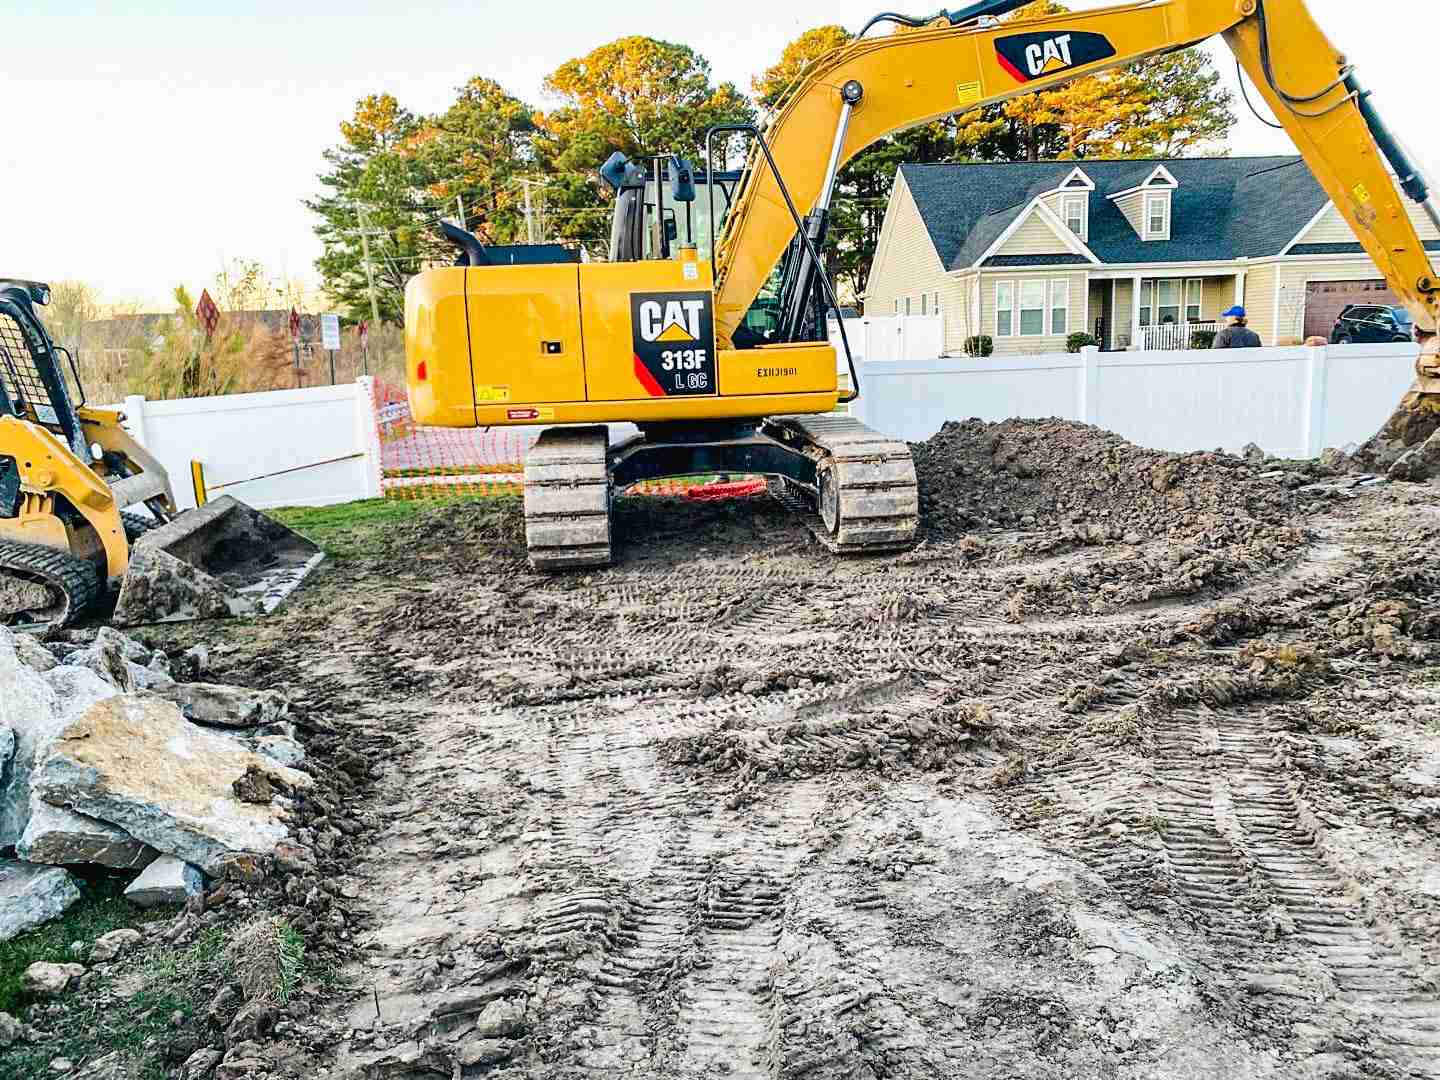
Step 1. Preparing Your Backyard and Initial Excavation
The adventure starts with backyard preparation. First, the pool contractor will examine your yard, taking note of its unique features and potential challenges. They will then draw out a detailed blueprint, a dig sheet, marking the pool’s precise location. The dig sheet provides specific measurements that guide the excavation process to ensure the pool fits perfectly.
After the backyard inspection and planning, the real work begins: digging the hole for your pool. The contractor uses sophisticated equipment to excavate, guided by the dig sheet’s instructions. The process is swift and often completed within a day, although timing can vary depending on weather conditions, pool size, and underground obstacles.
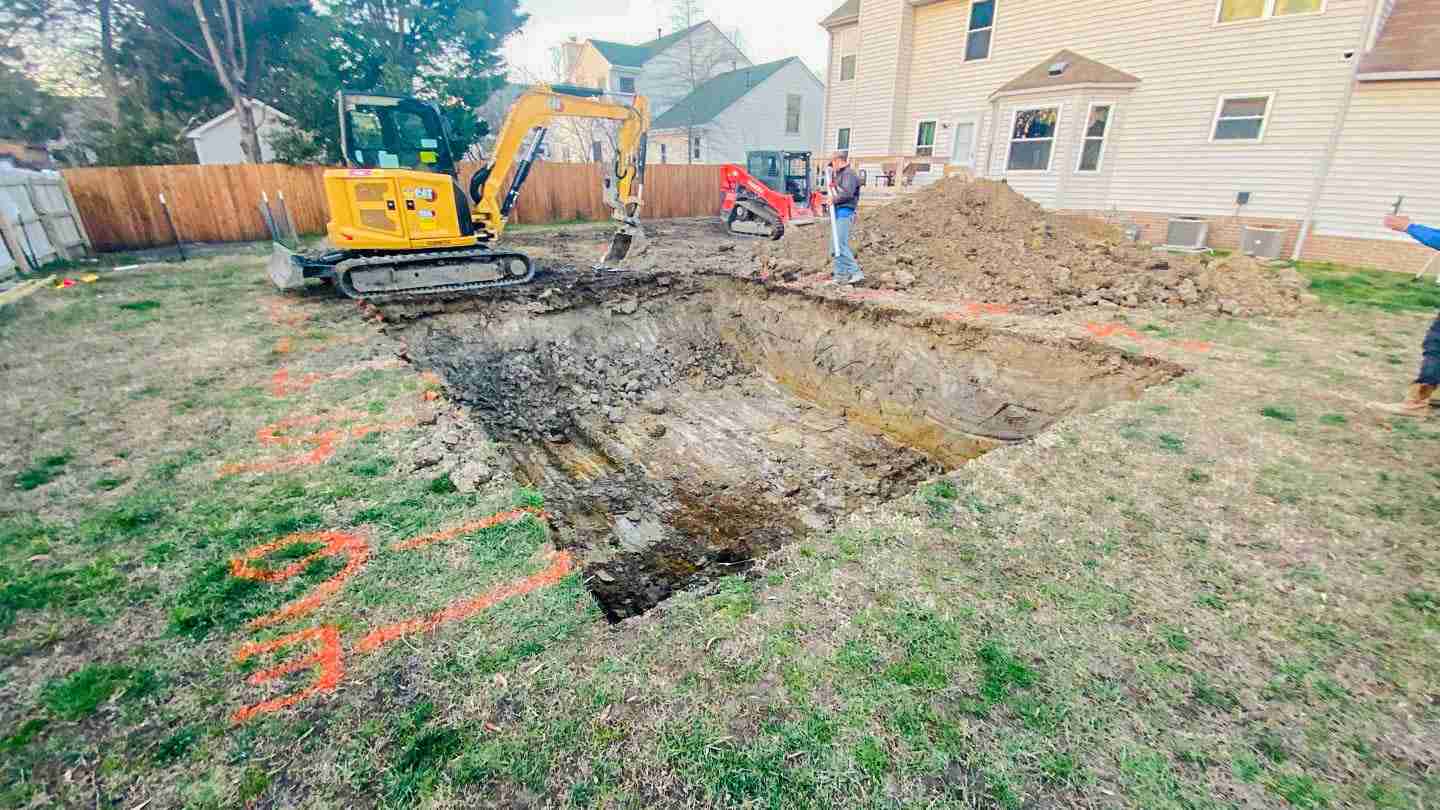
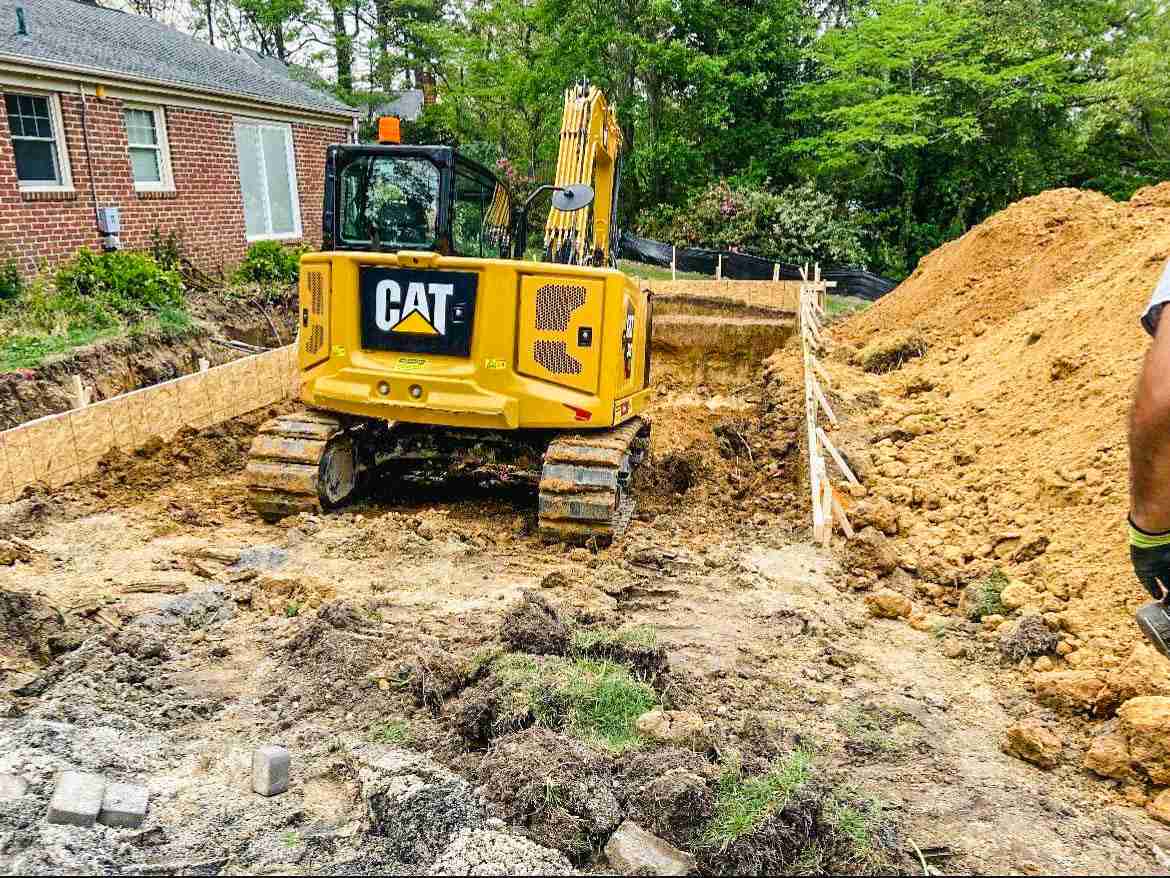
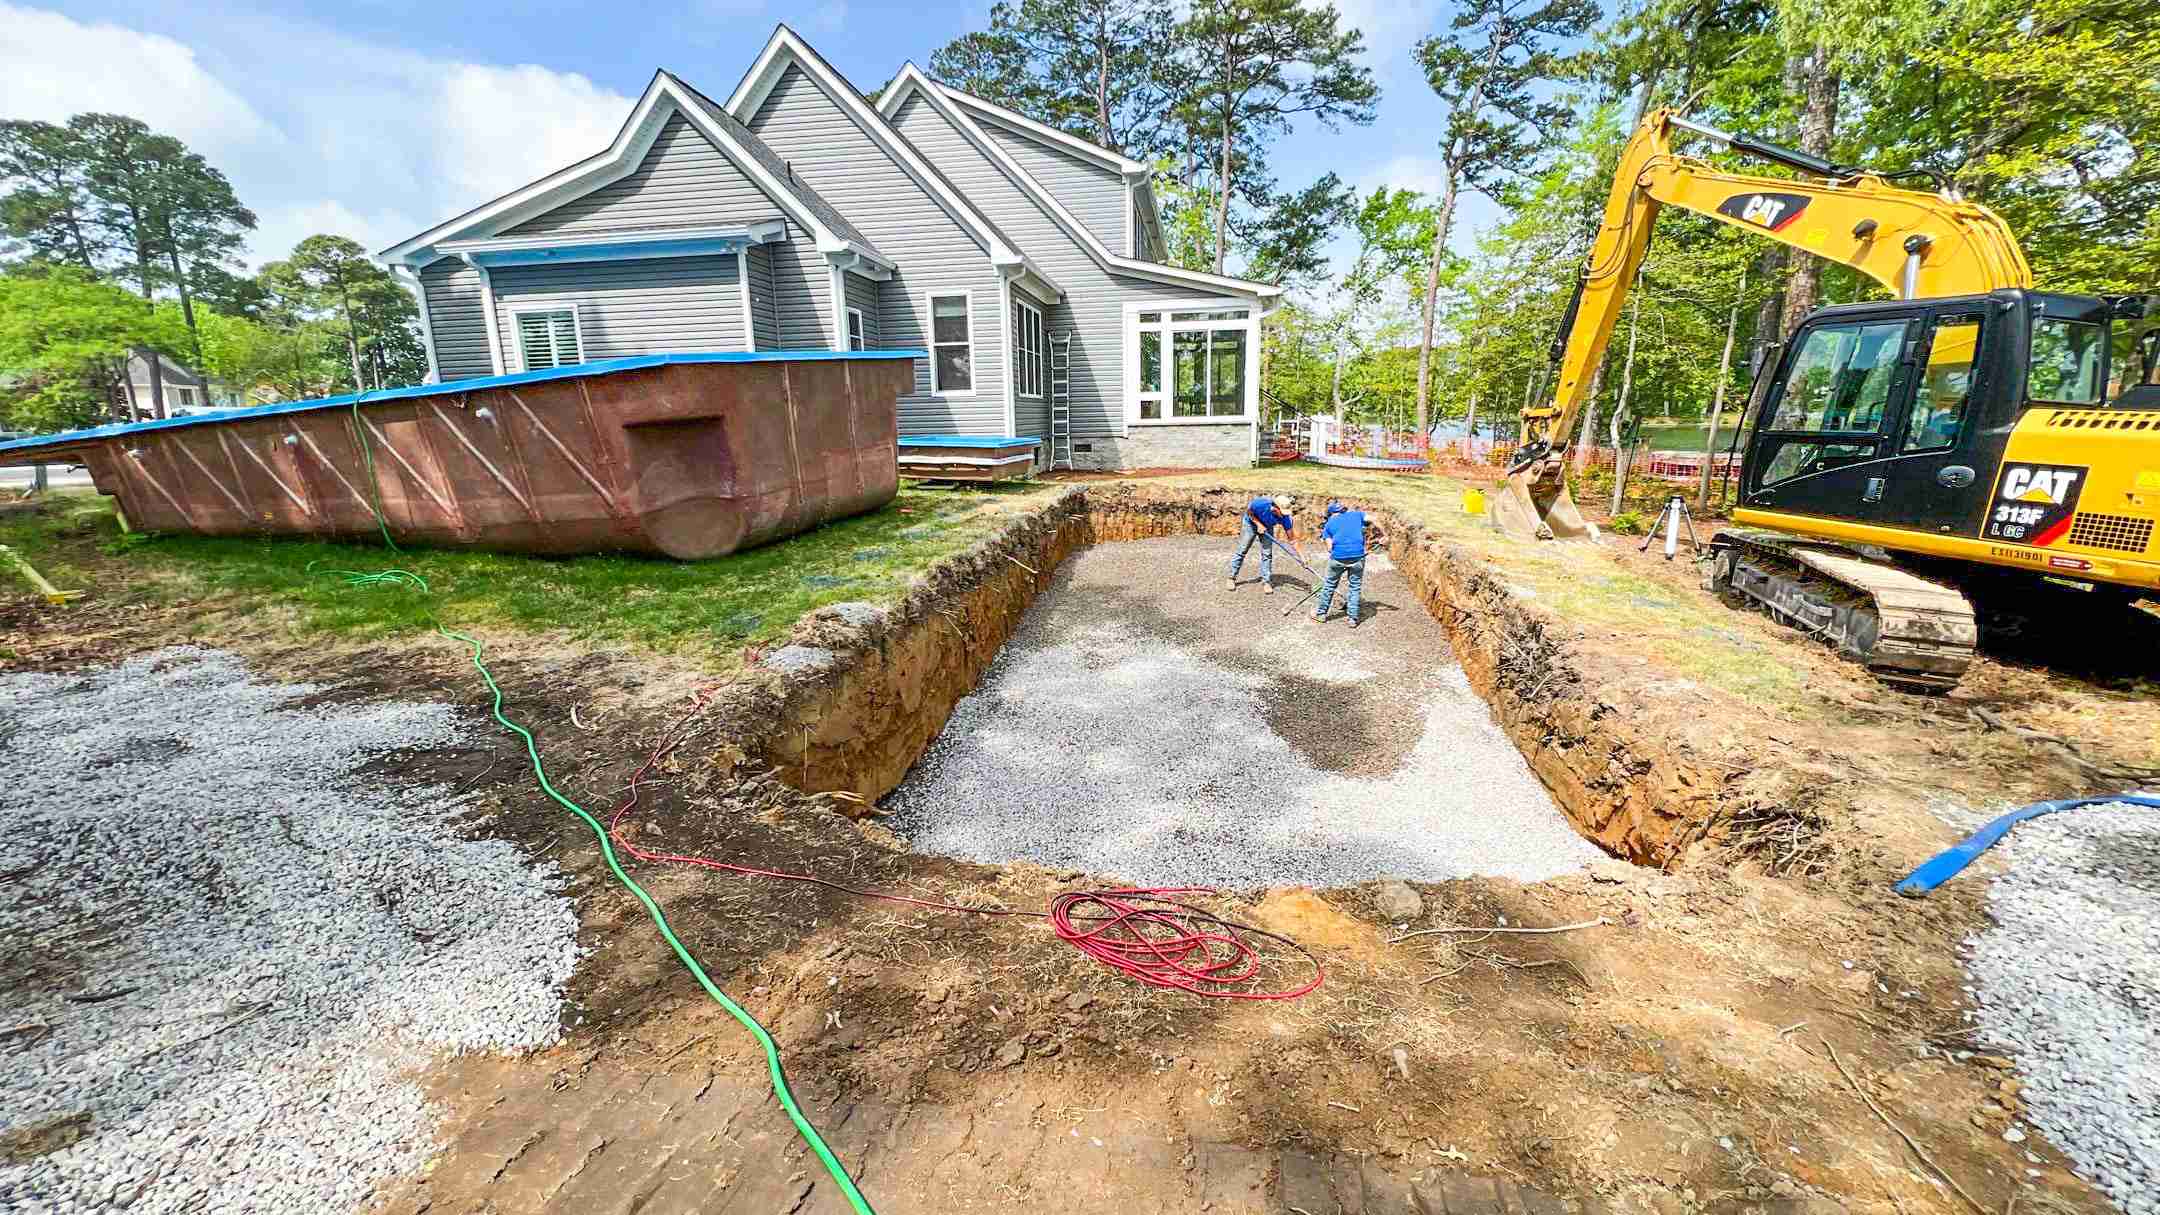
Step 2. Further Excavation and Pool Placement
Following initial excavation, the contractor sets about fine-tuning the hole for your pool. This stage requires precision as they ensure the floor is at the correct depth and provides a stable base for your pool. Challenges arise, such as over-digging (when the hole becomes too deep) or encountering unstable soil. However, professional fiberglass pool installation installers know how to mitigate these issues, often using gravel to raise the depth or removing unstable soil to prevent future pool shifting.
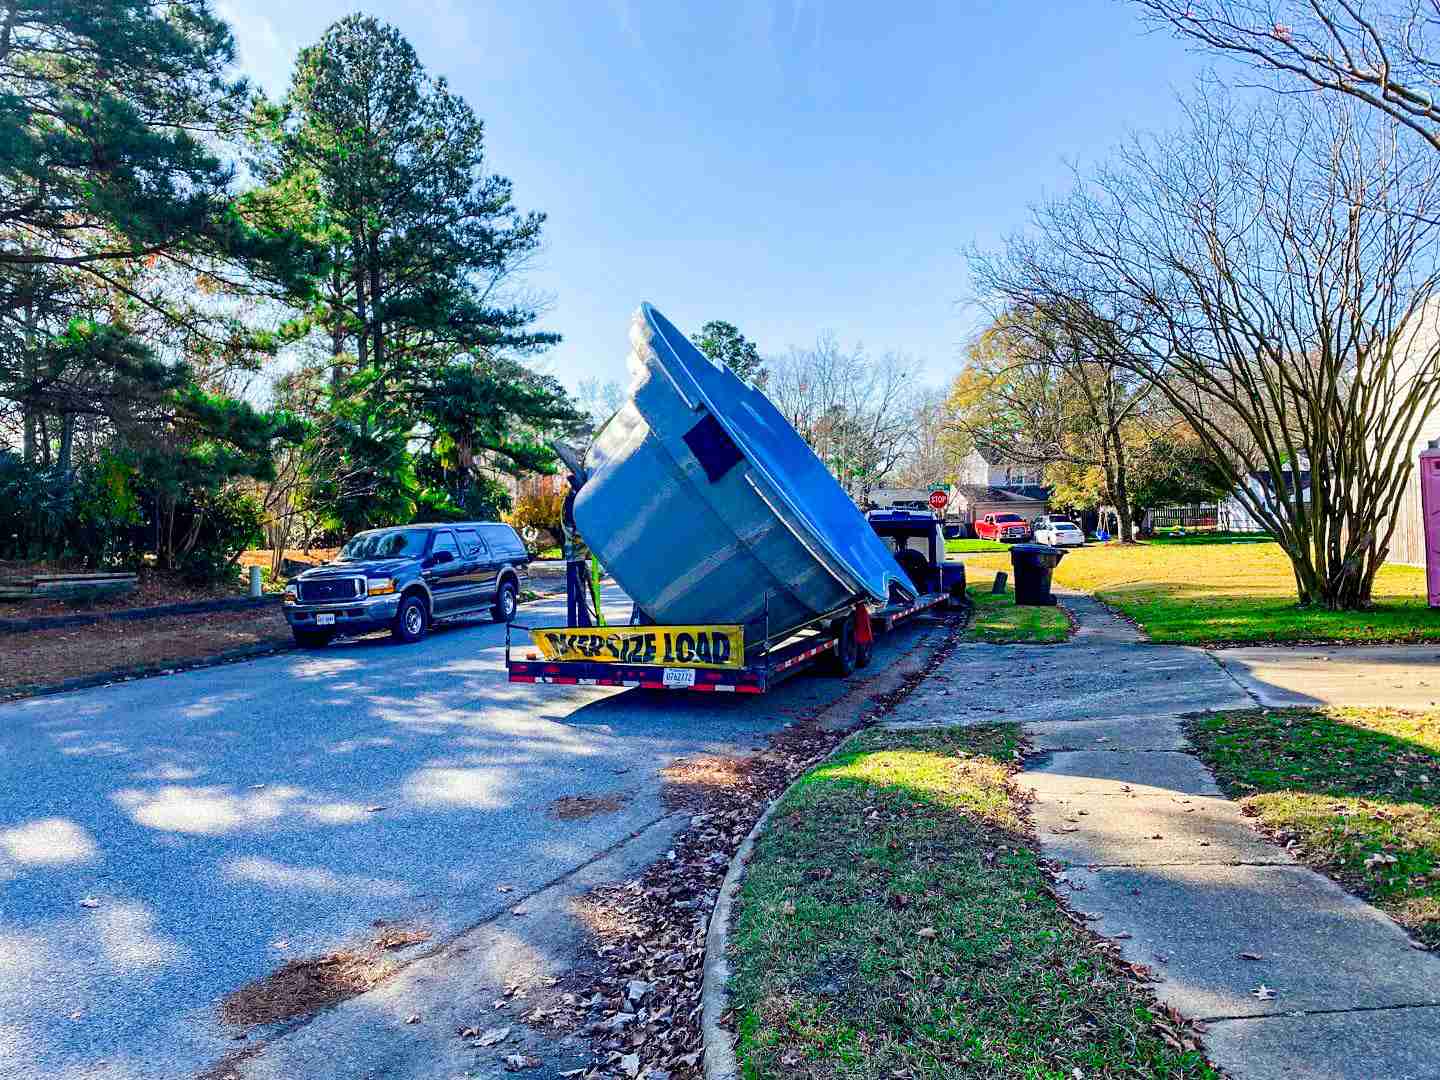
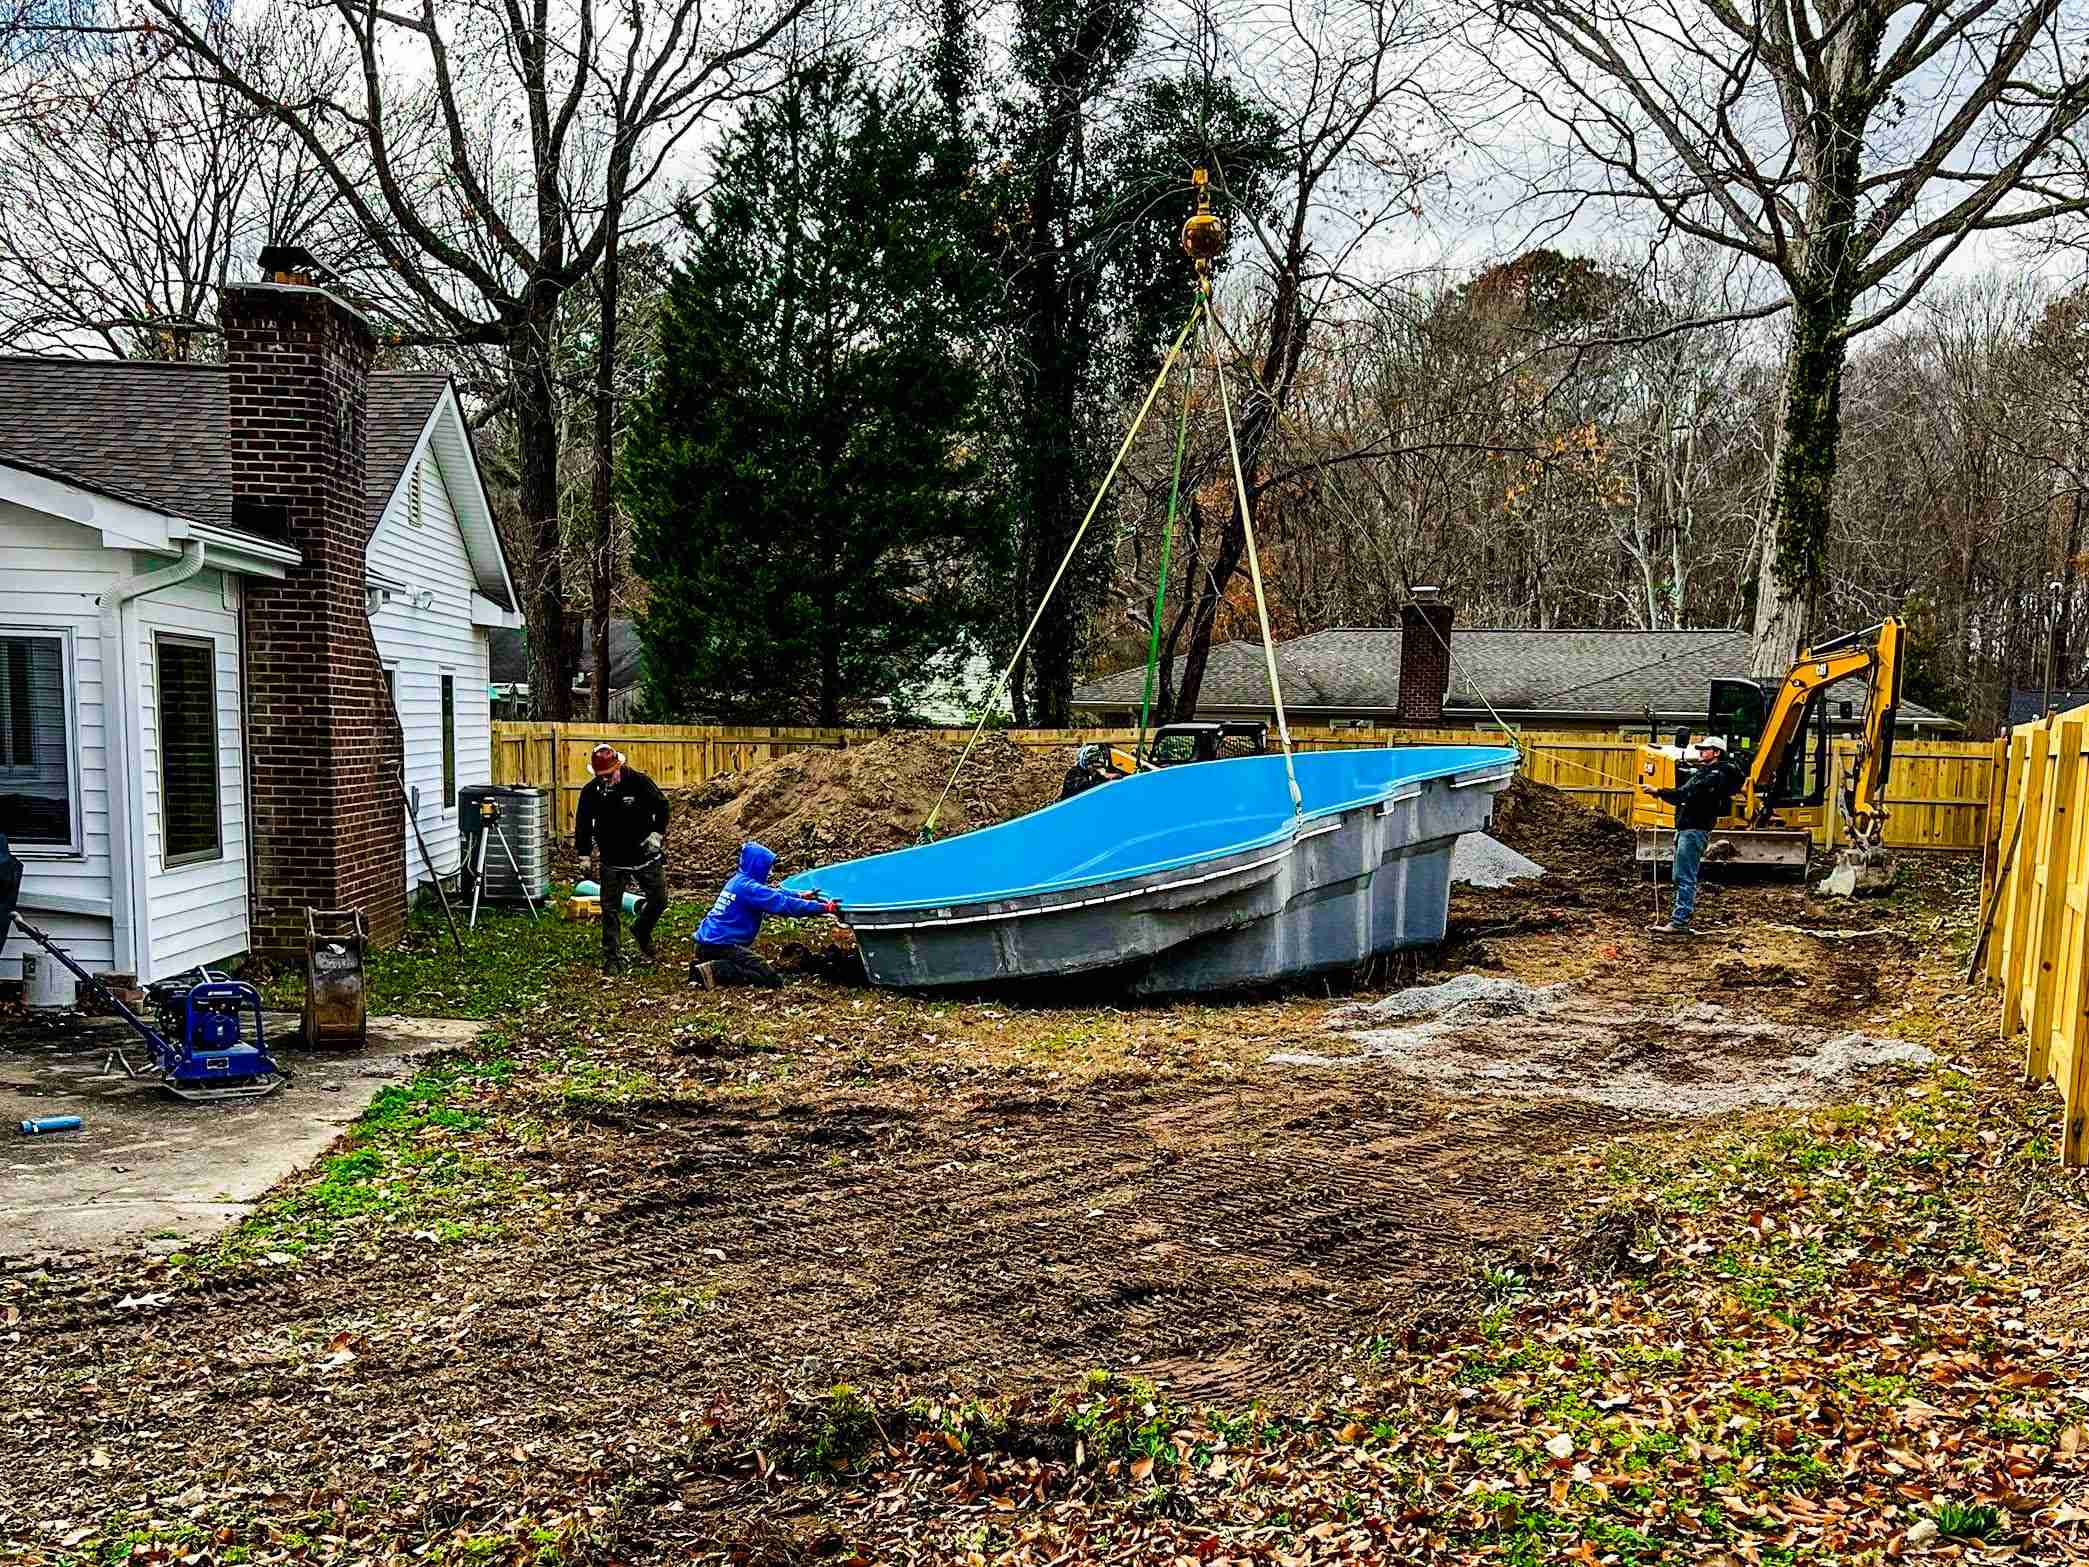
Once the hole is prepped, your fiberglass pool shell arrives on a low-loader tilt truck. The delivery includes essential equipment like your pool filtration system, tools, and fittings. Using heavy machinery, often an excavator or crane, the team carefully lowers your pool into the excavated area, ensuring it is level and ideally within its new home.
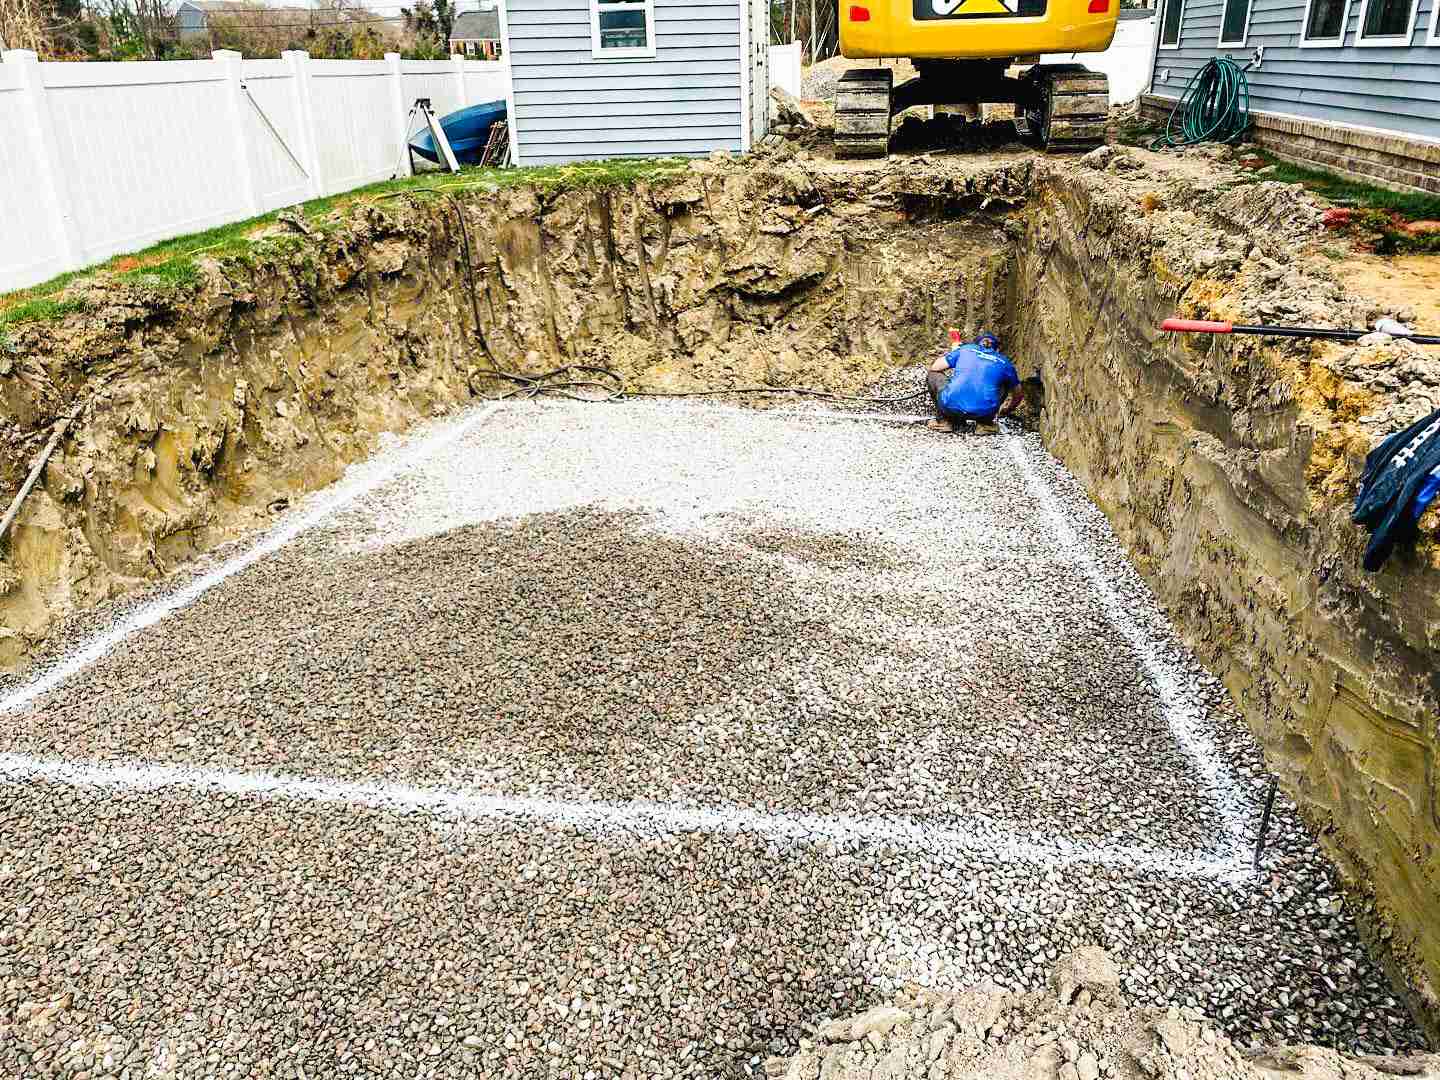
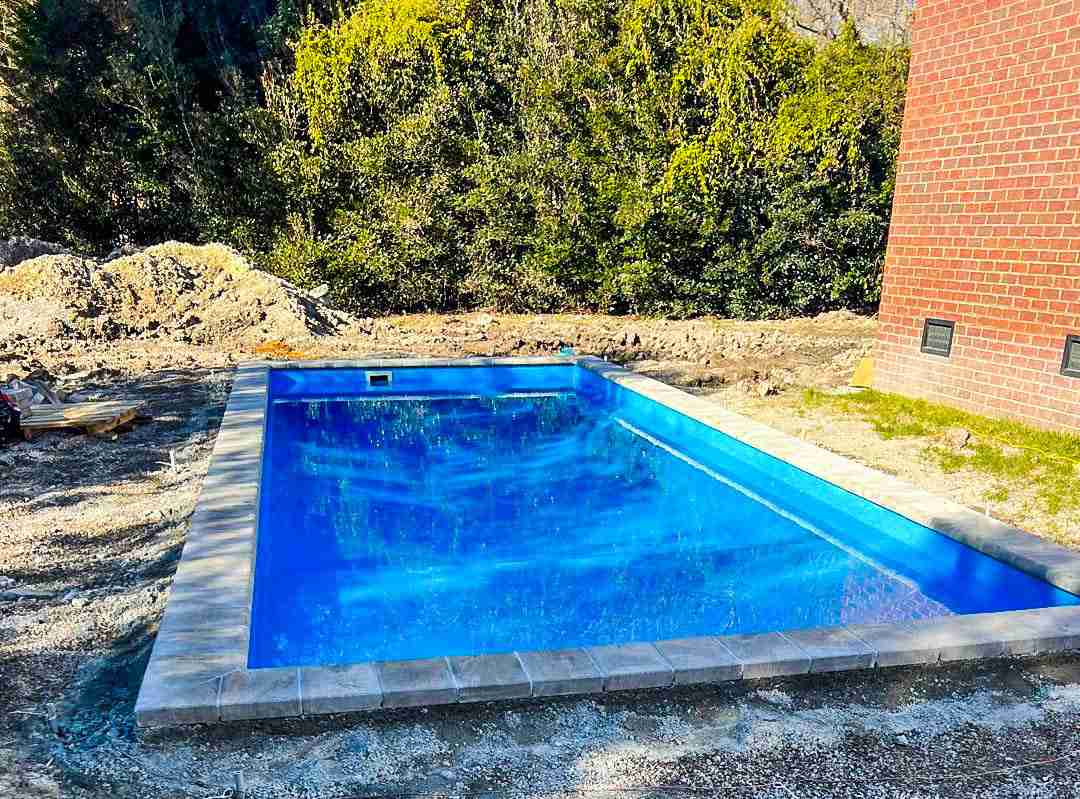
Step 3. Water Introduction and Backfilling
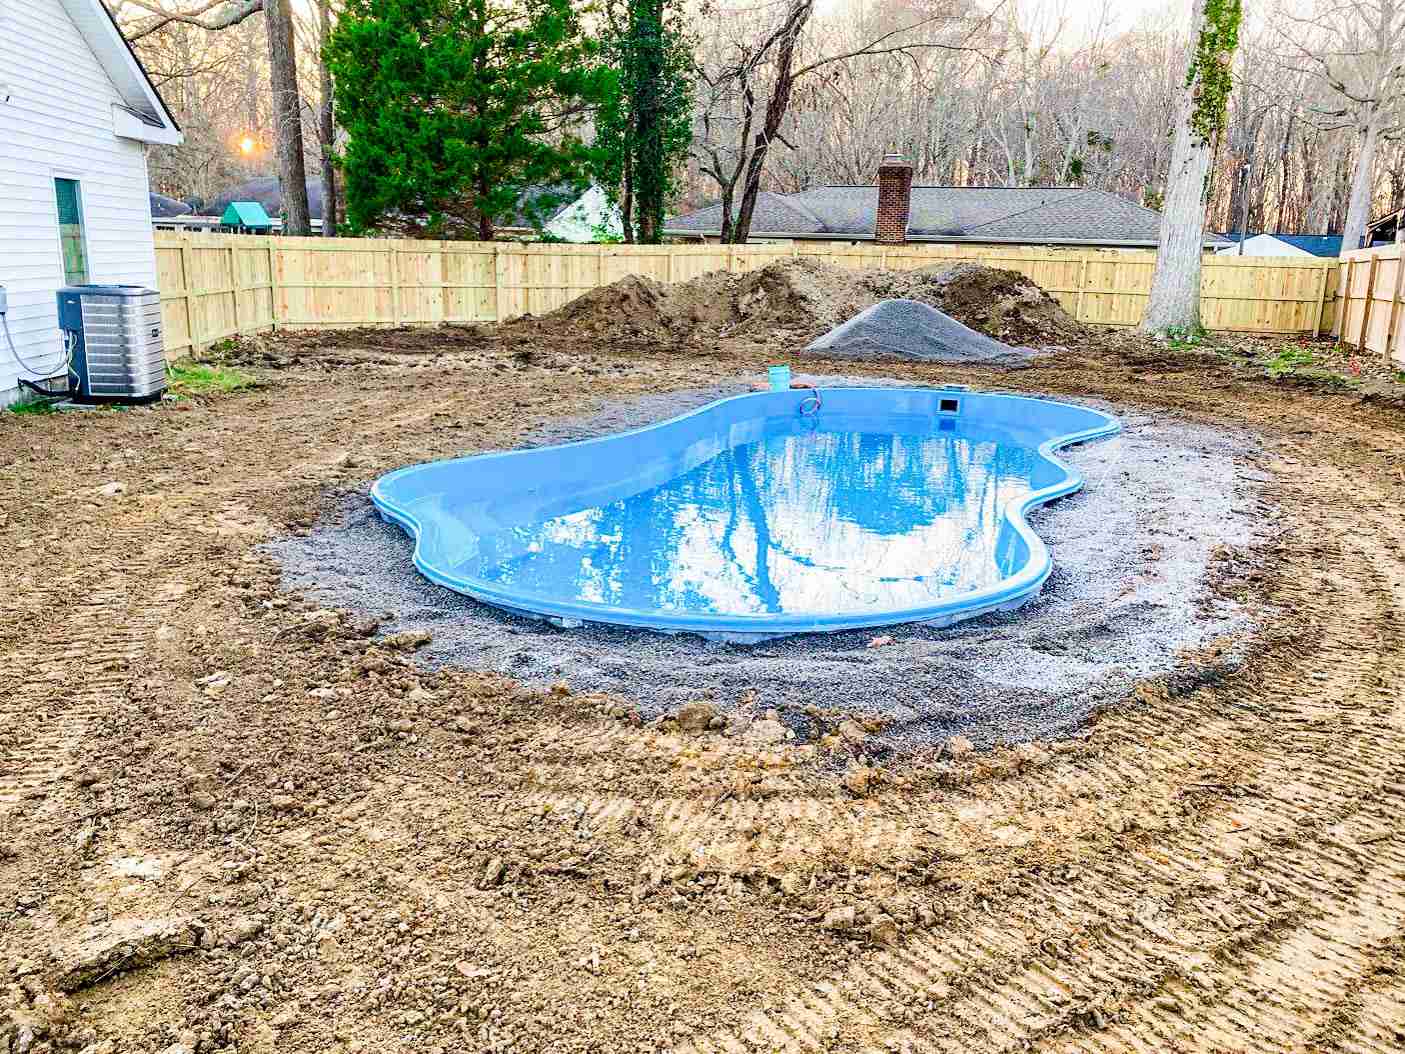
With the pool shell safely in its place, it’s time for the pool to start looking like one – by filling it with water. The filling process is concurrent with backfilling, where the team adds gravel or similar material around the outside of the pool. Simultaneously adding water inside and backfill outside helps equalize pressure, ensuring the pool’s stability.
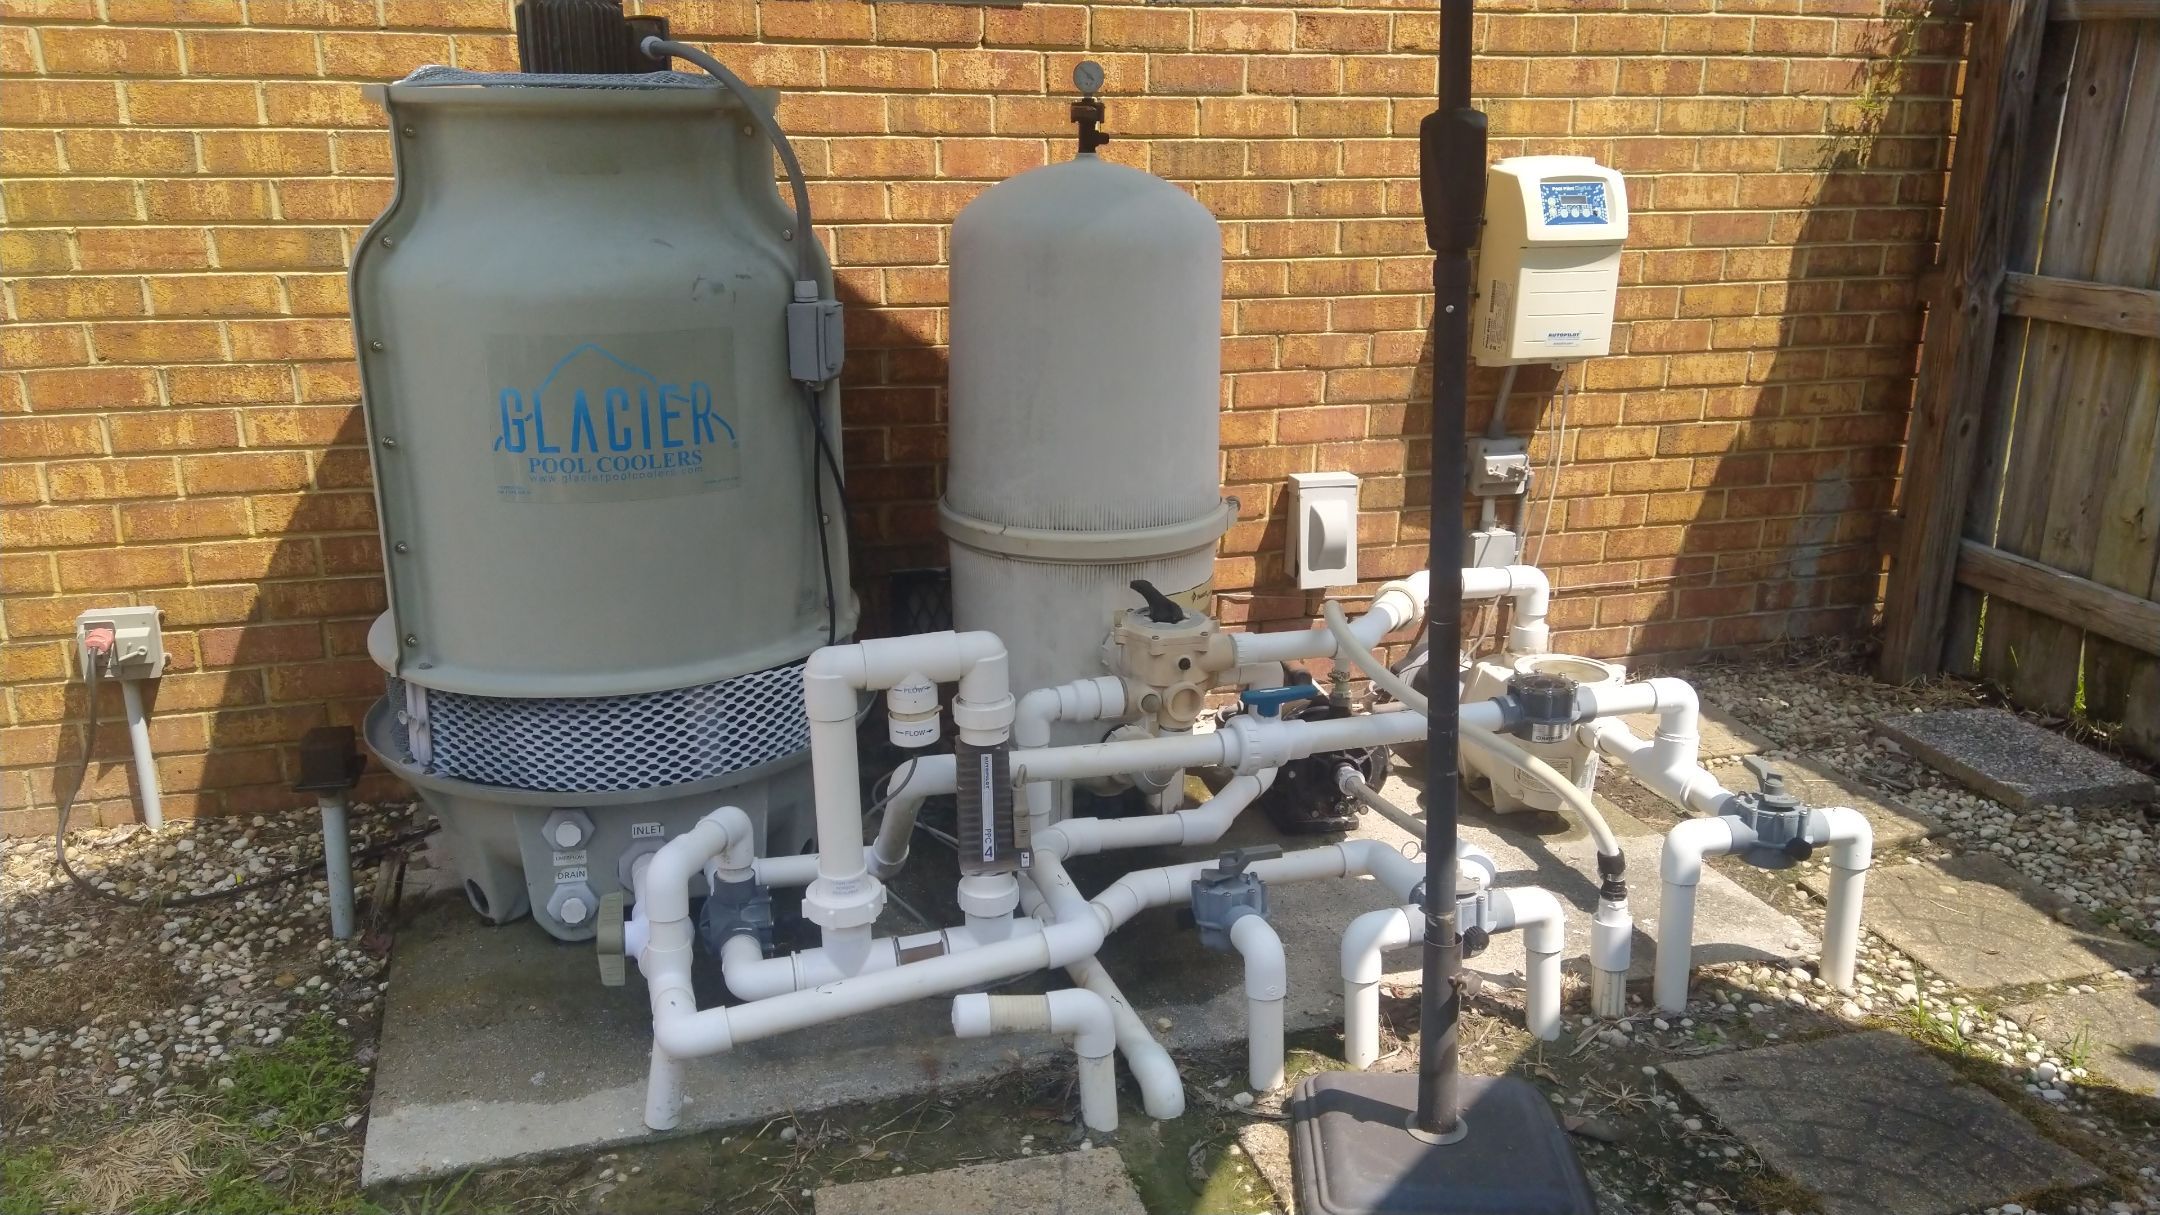
Step 4. Plumbing System and Electrical Setup
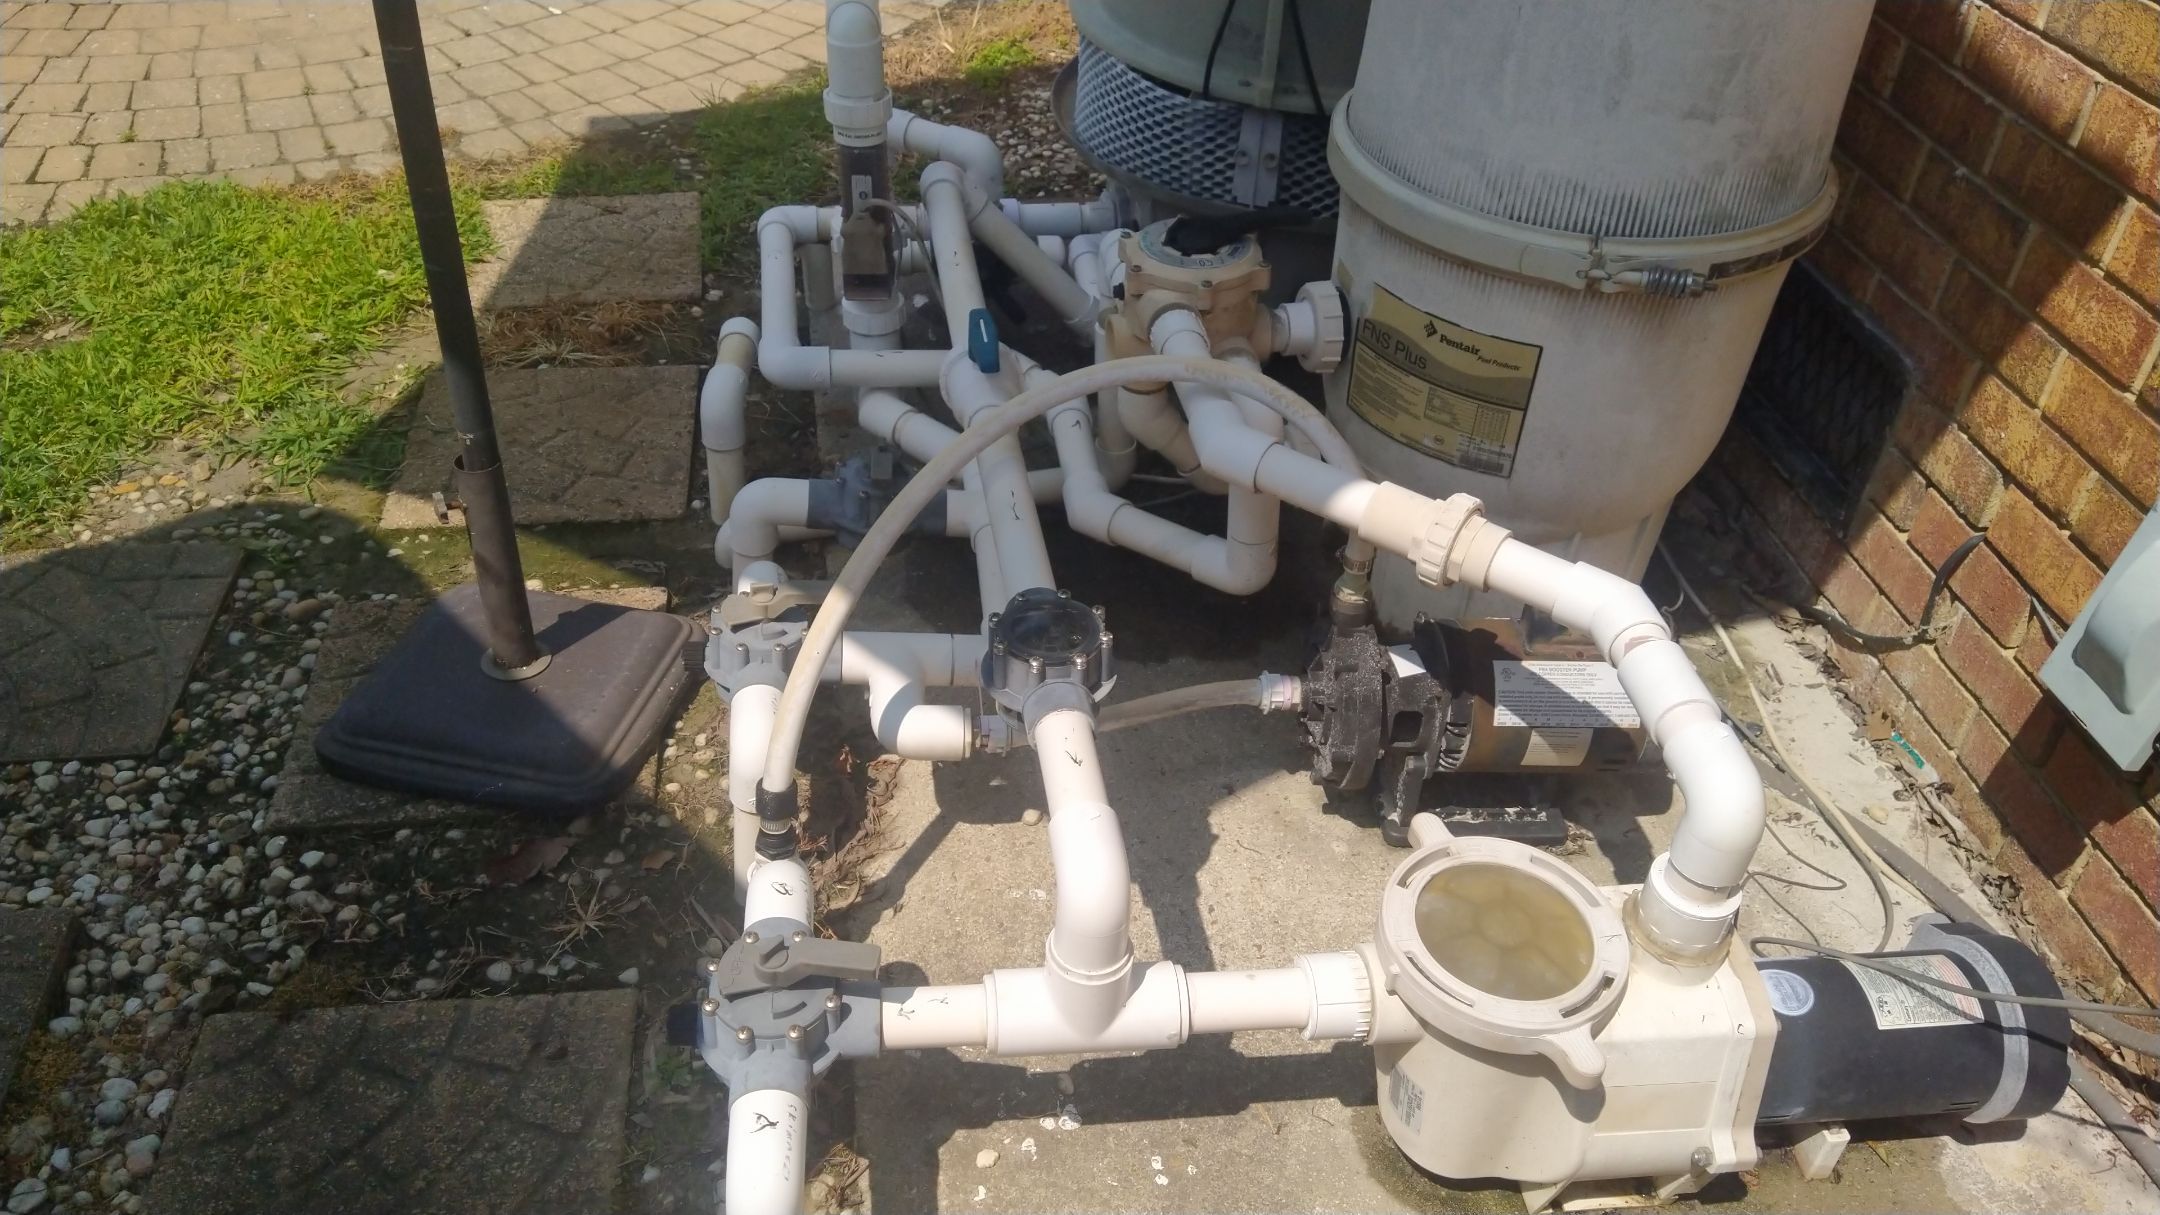
Next, it’s time to make your pool functional by installing plumbing and electrical systems. The pool’s pump and filtration system, critical components in maintaining water clarity and cleanliness, are set up within a certain distance from the pool. Additionally, electrical connections are made to power the pool equipment. Remembering that this step involves intricate work and must adhere to local safety codes, a task best left to experienced professionals.
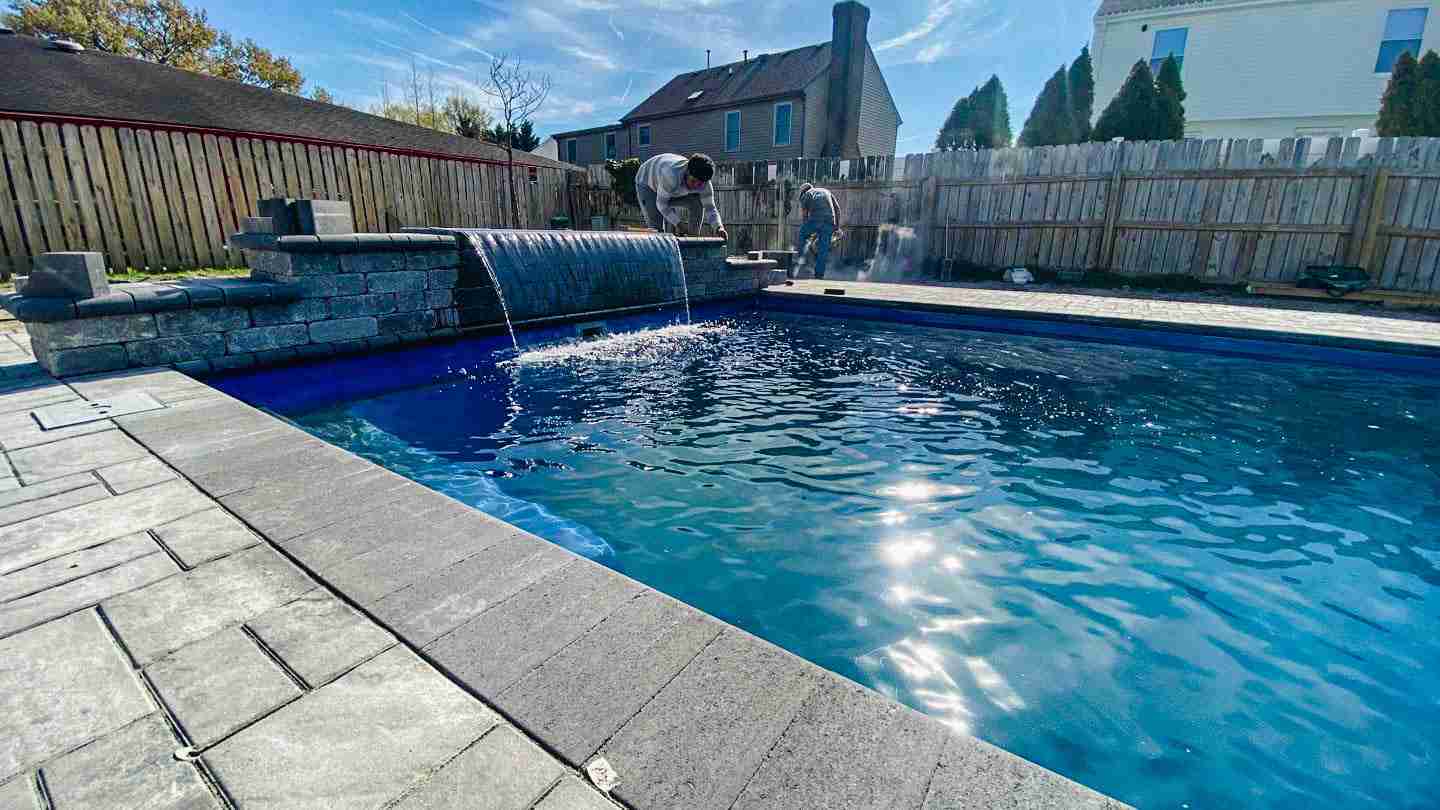
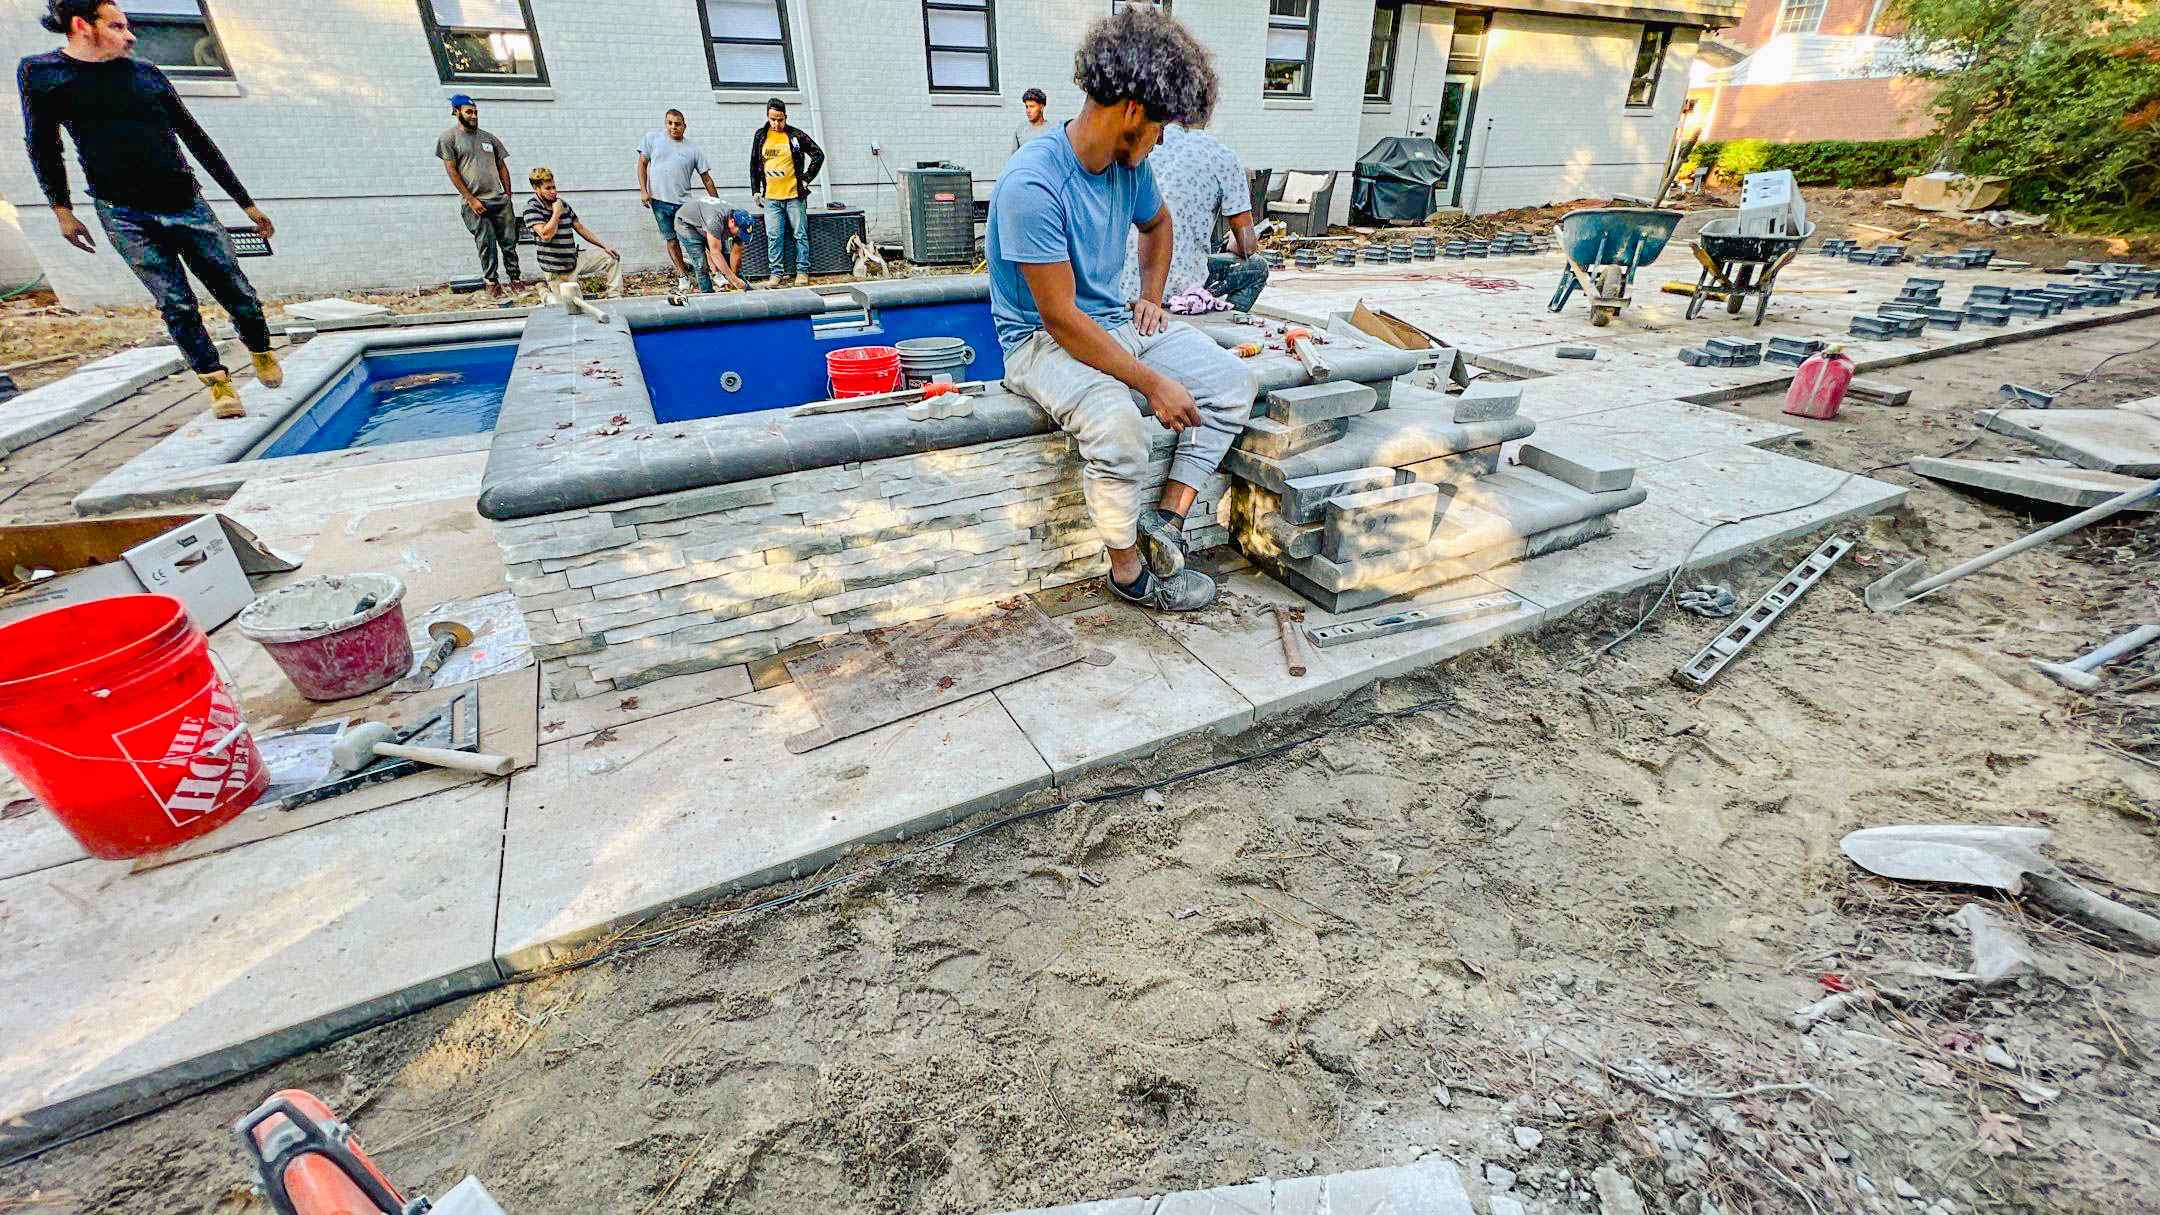
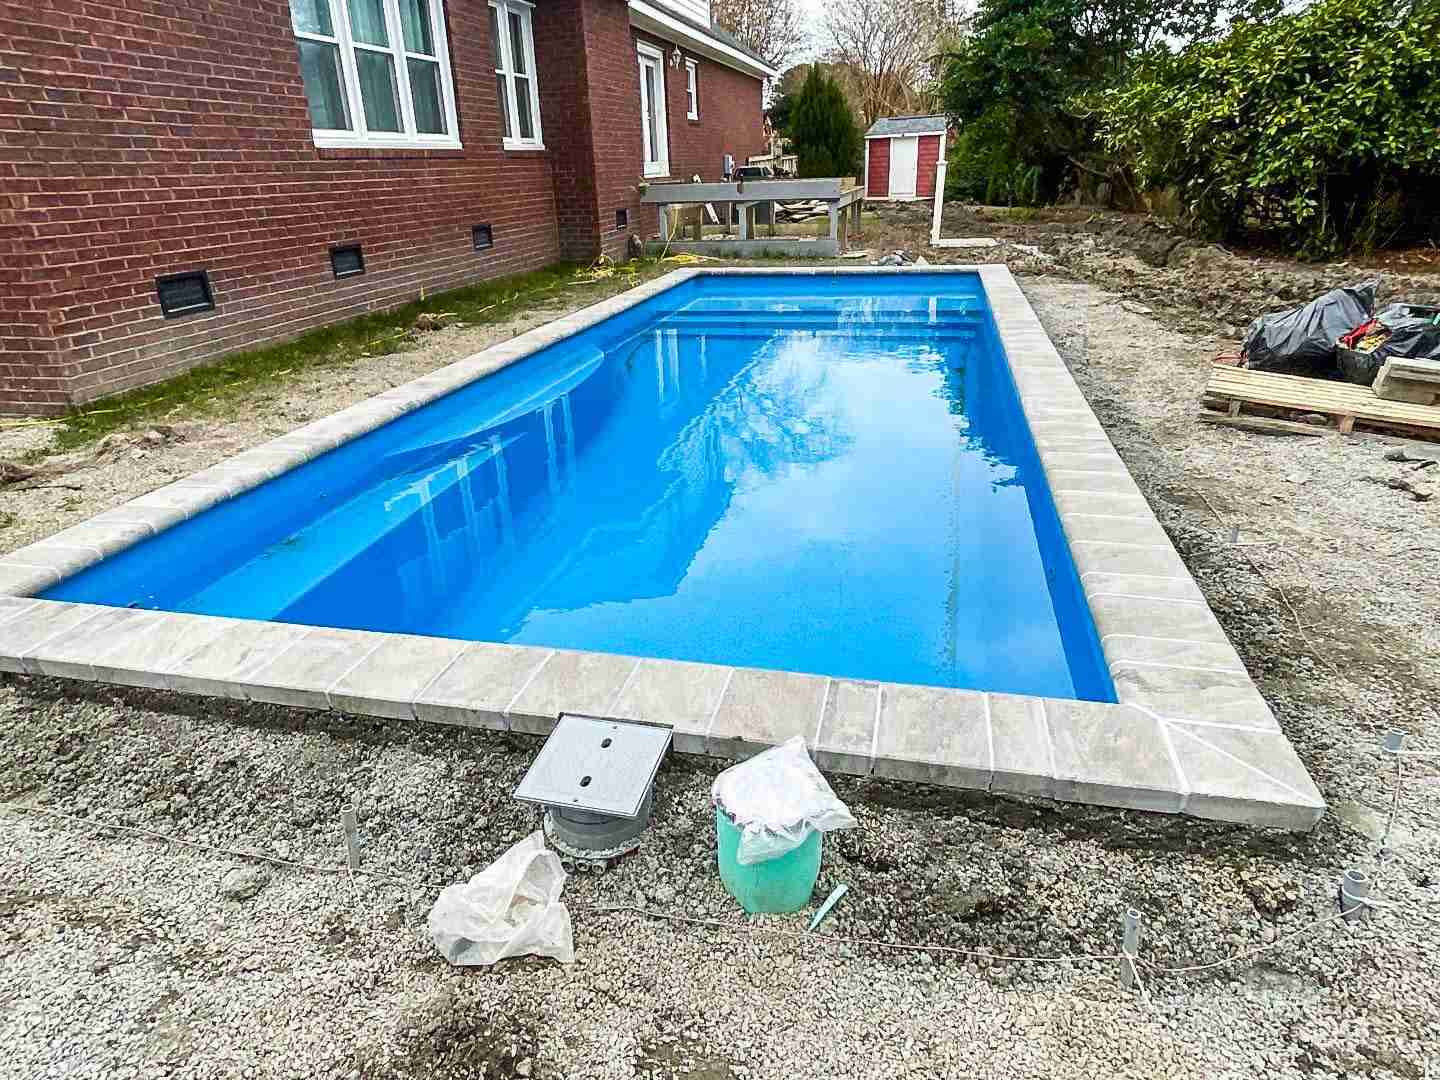
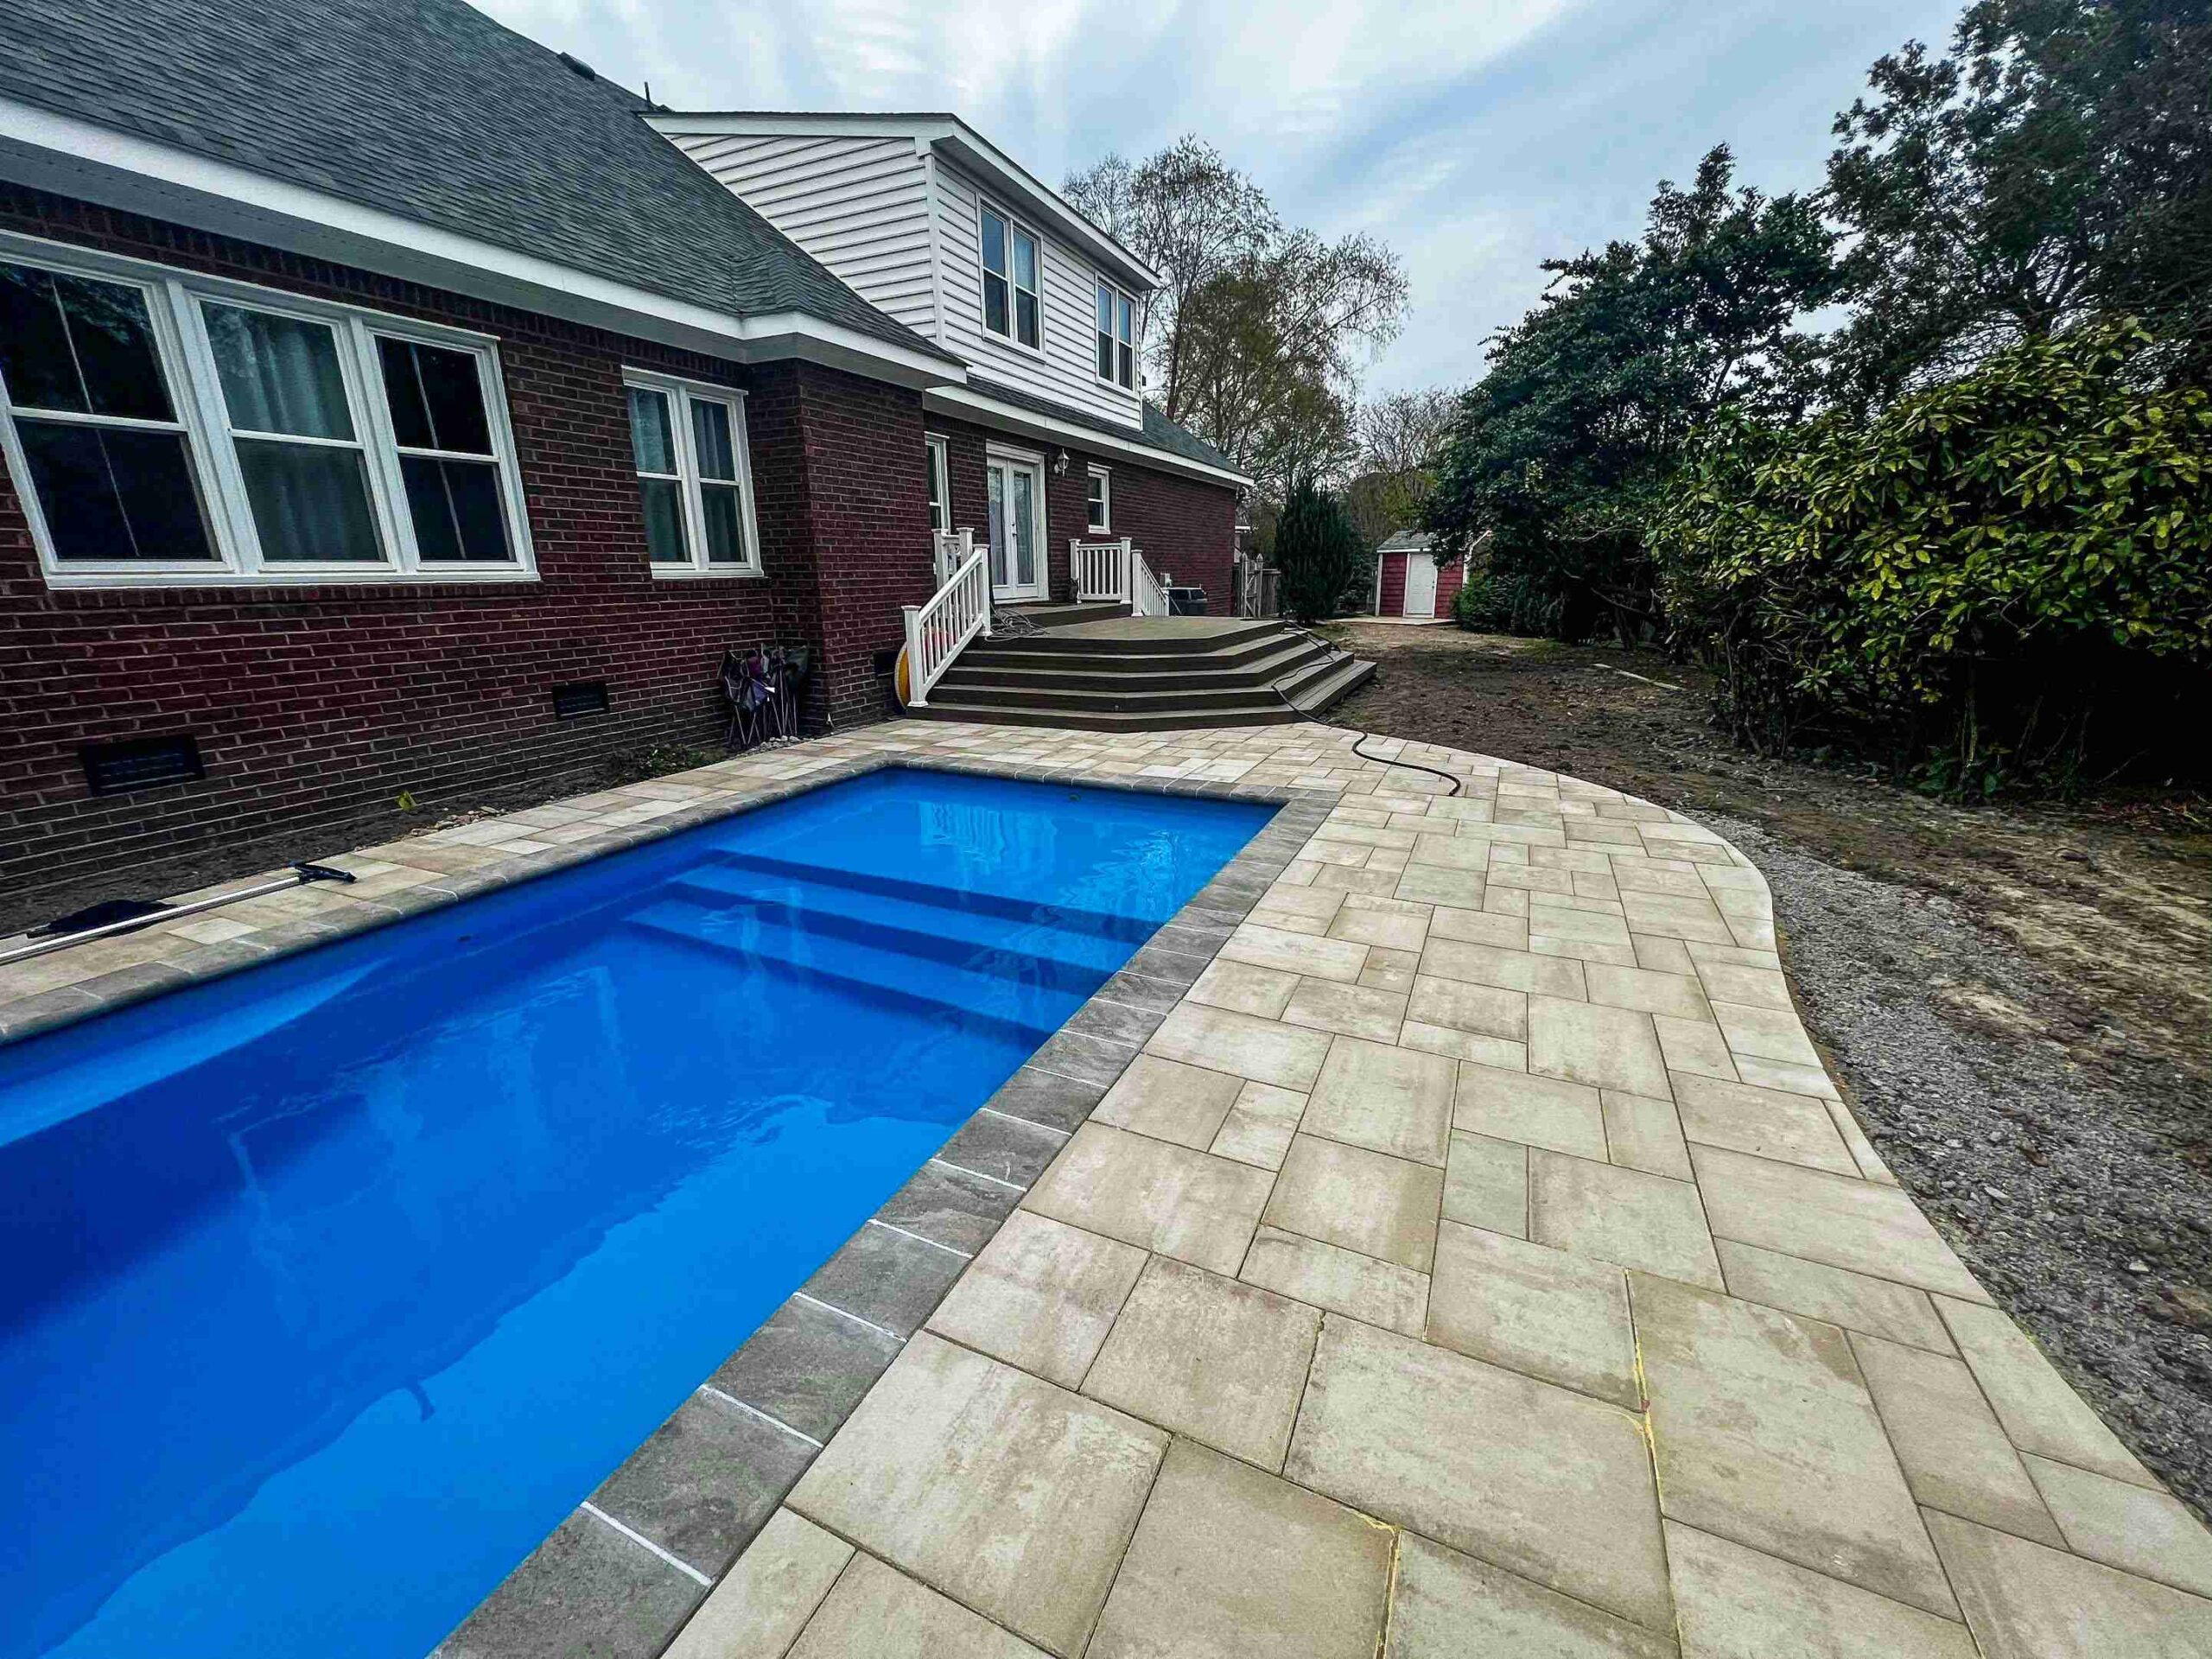
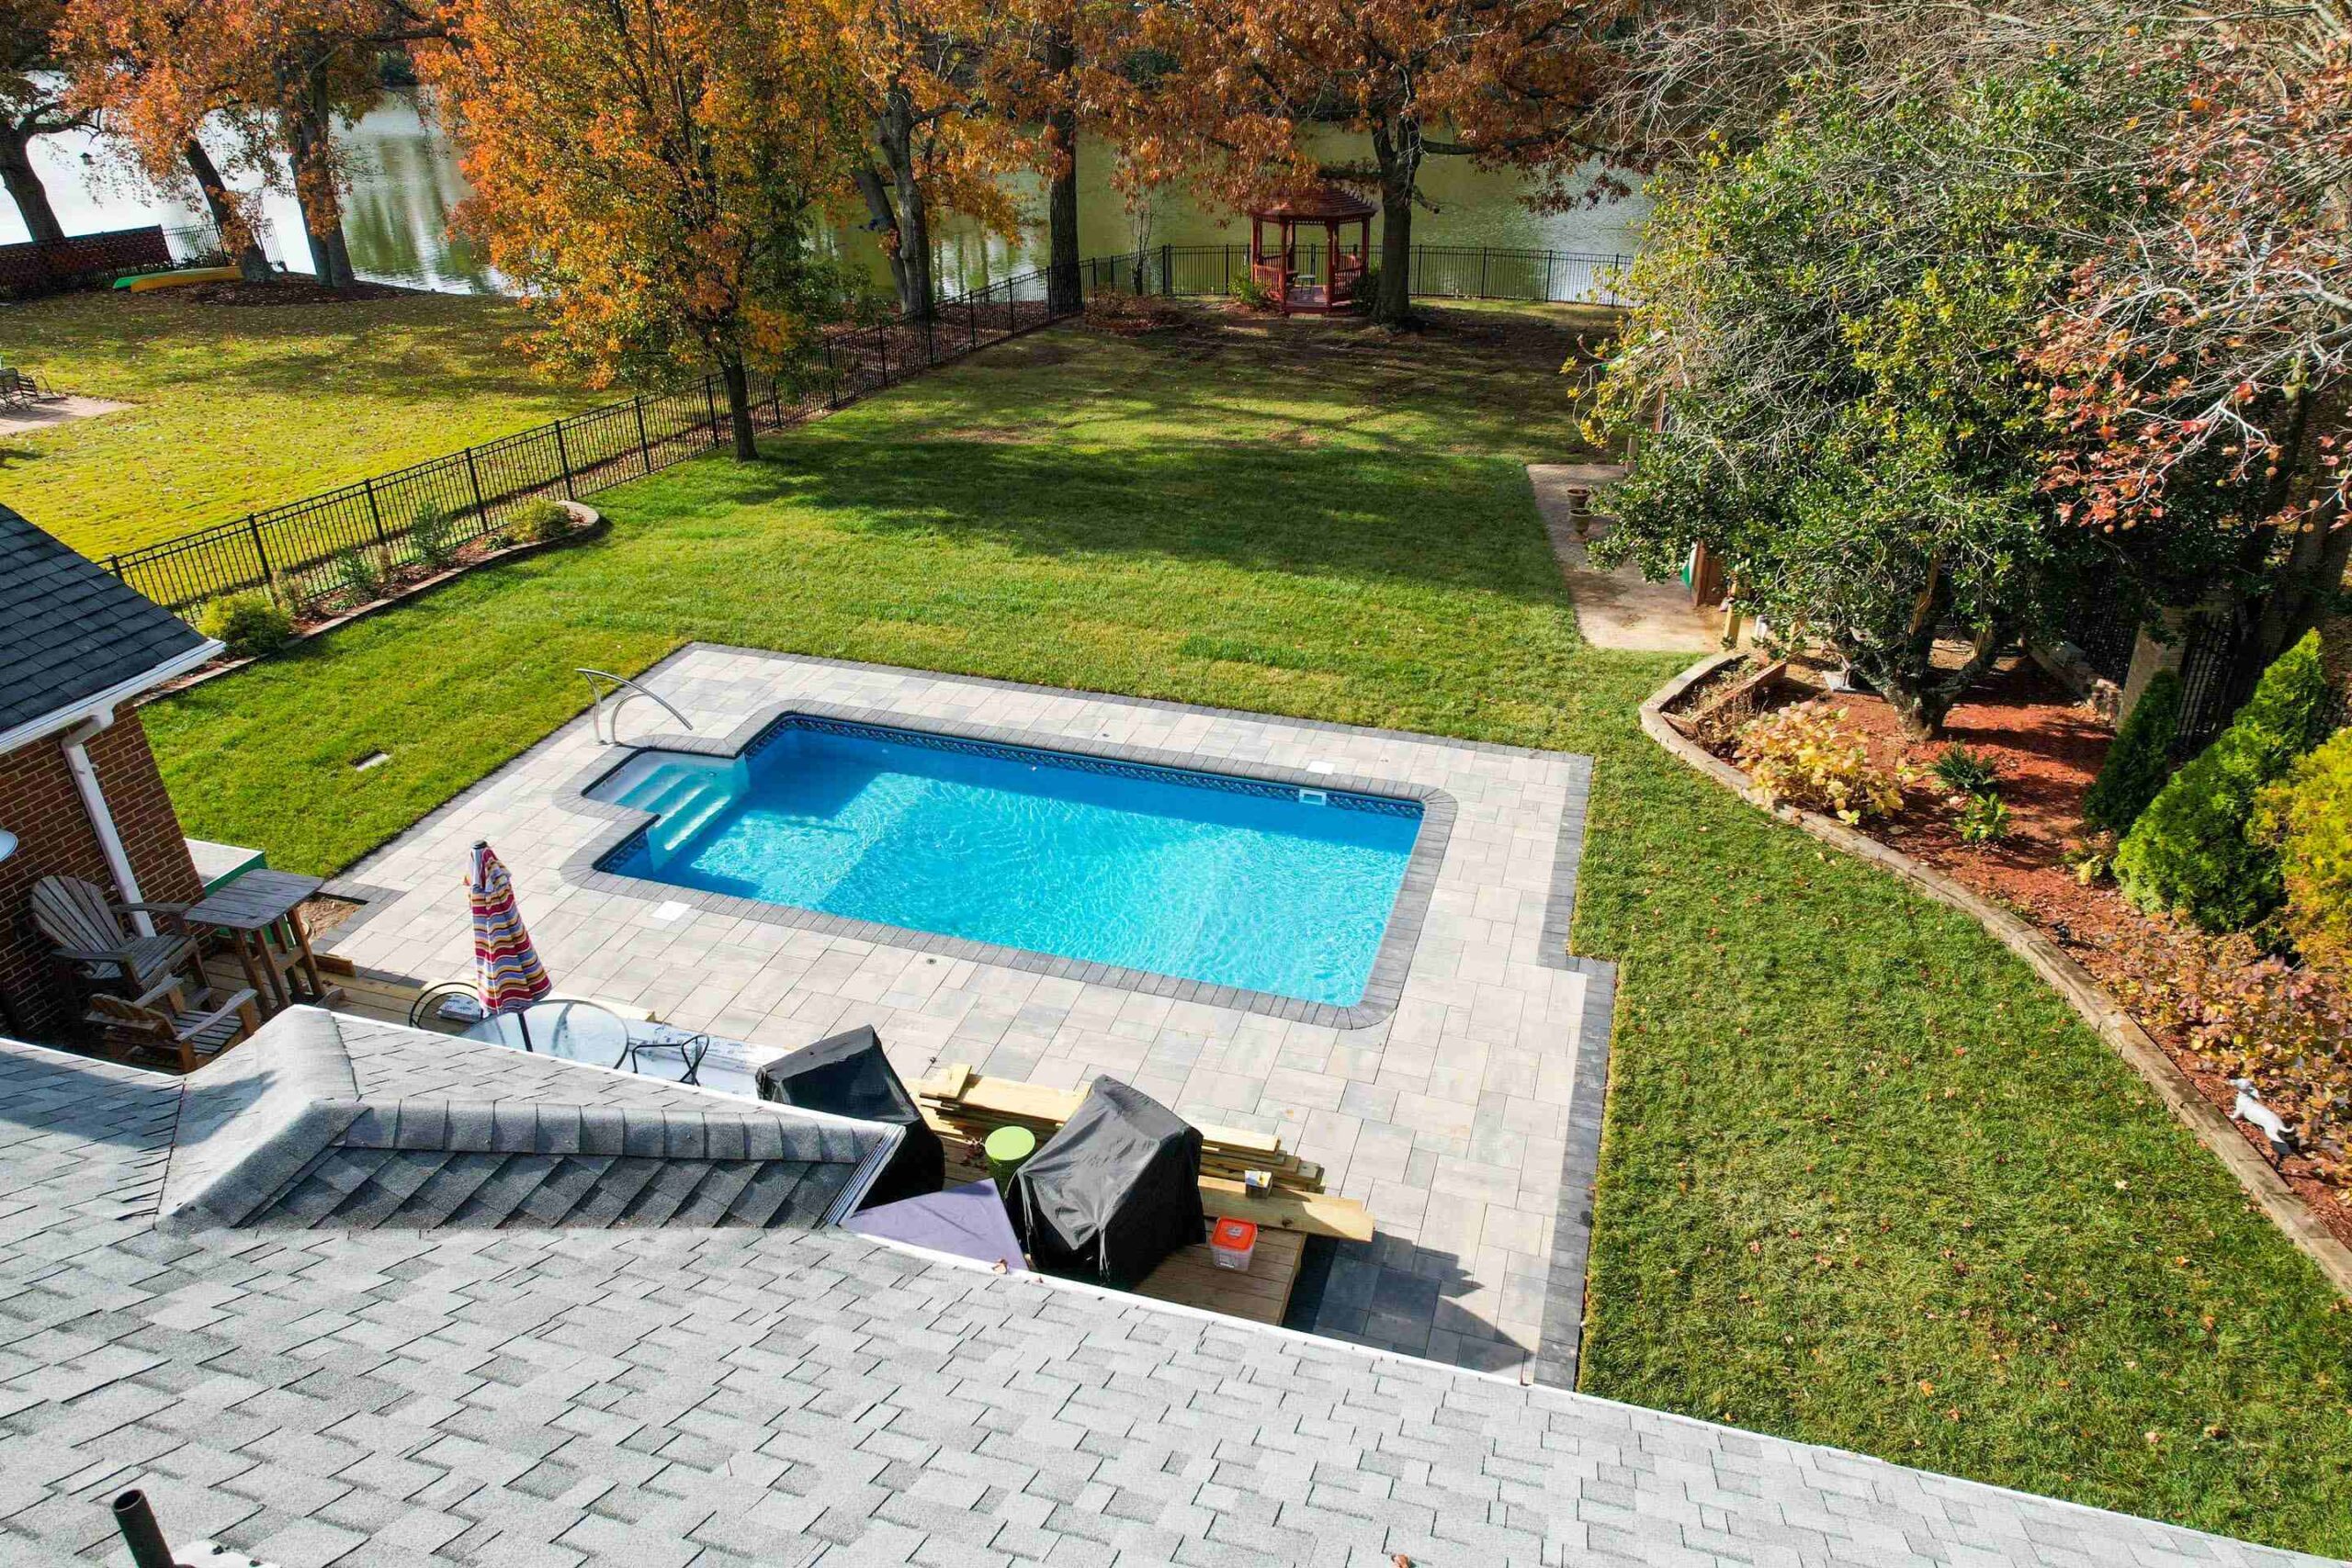
Step 5. Pavers Installation and Pool Finishing
Once the plumbing and electrical systems are in place, the focus shifts to pool finishing. Pavers are installed around the pool to act as a mechanical lock, enhancing the pool’s structural integrity. The team will also start to finalize the look of your pool. This stage may include smoothening the pool’s interior surface or adding a finishing touch, such as tiling, to make your pool visually appealing.
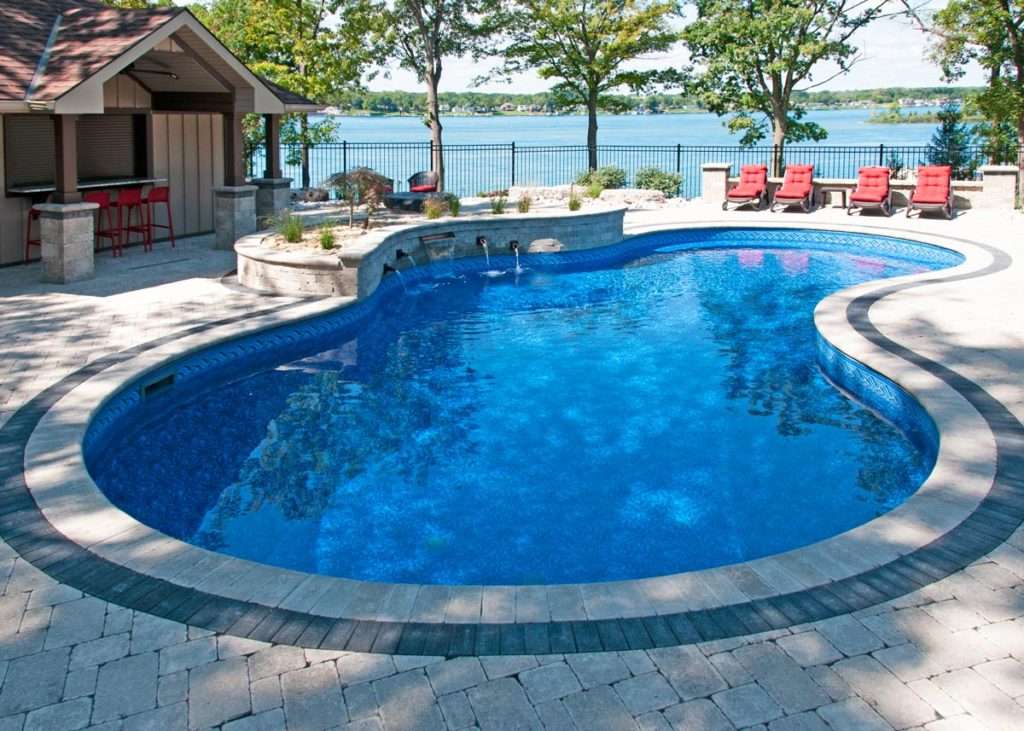
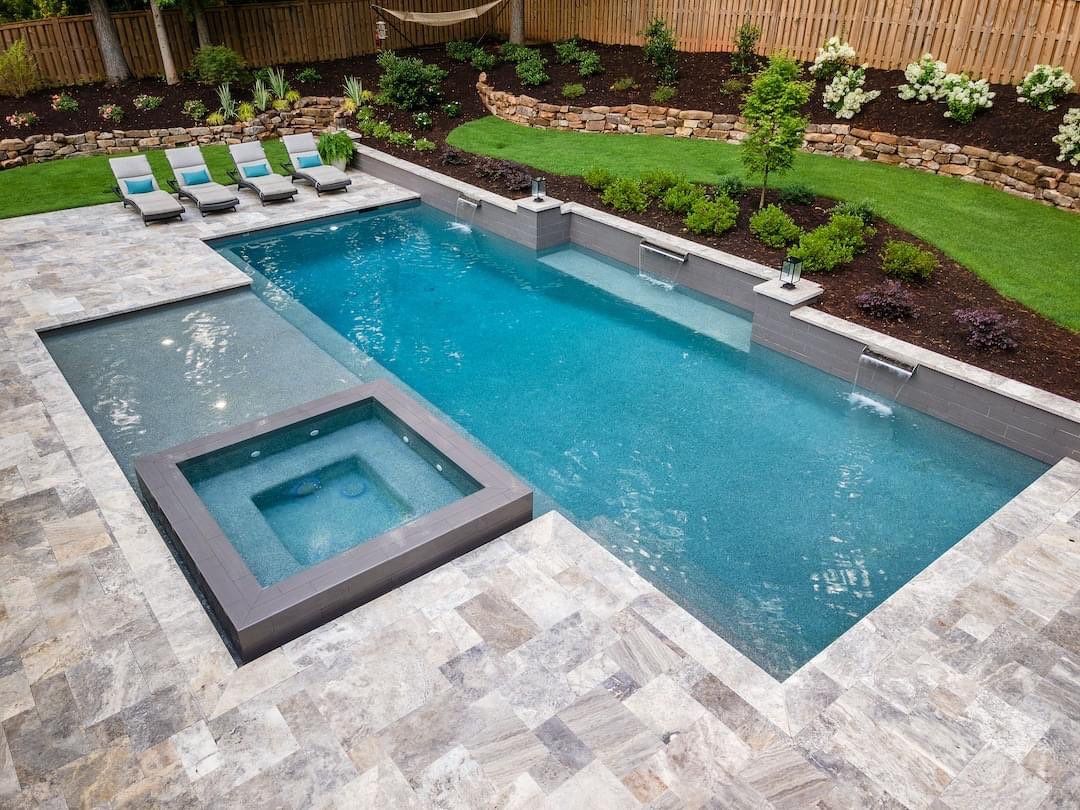
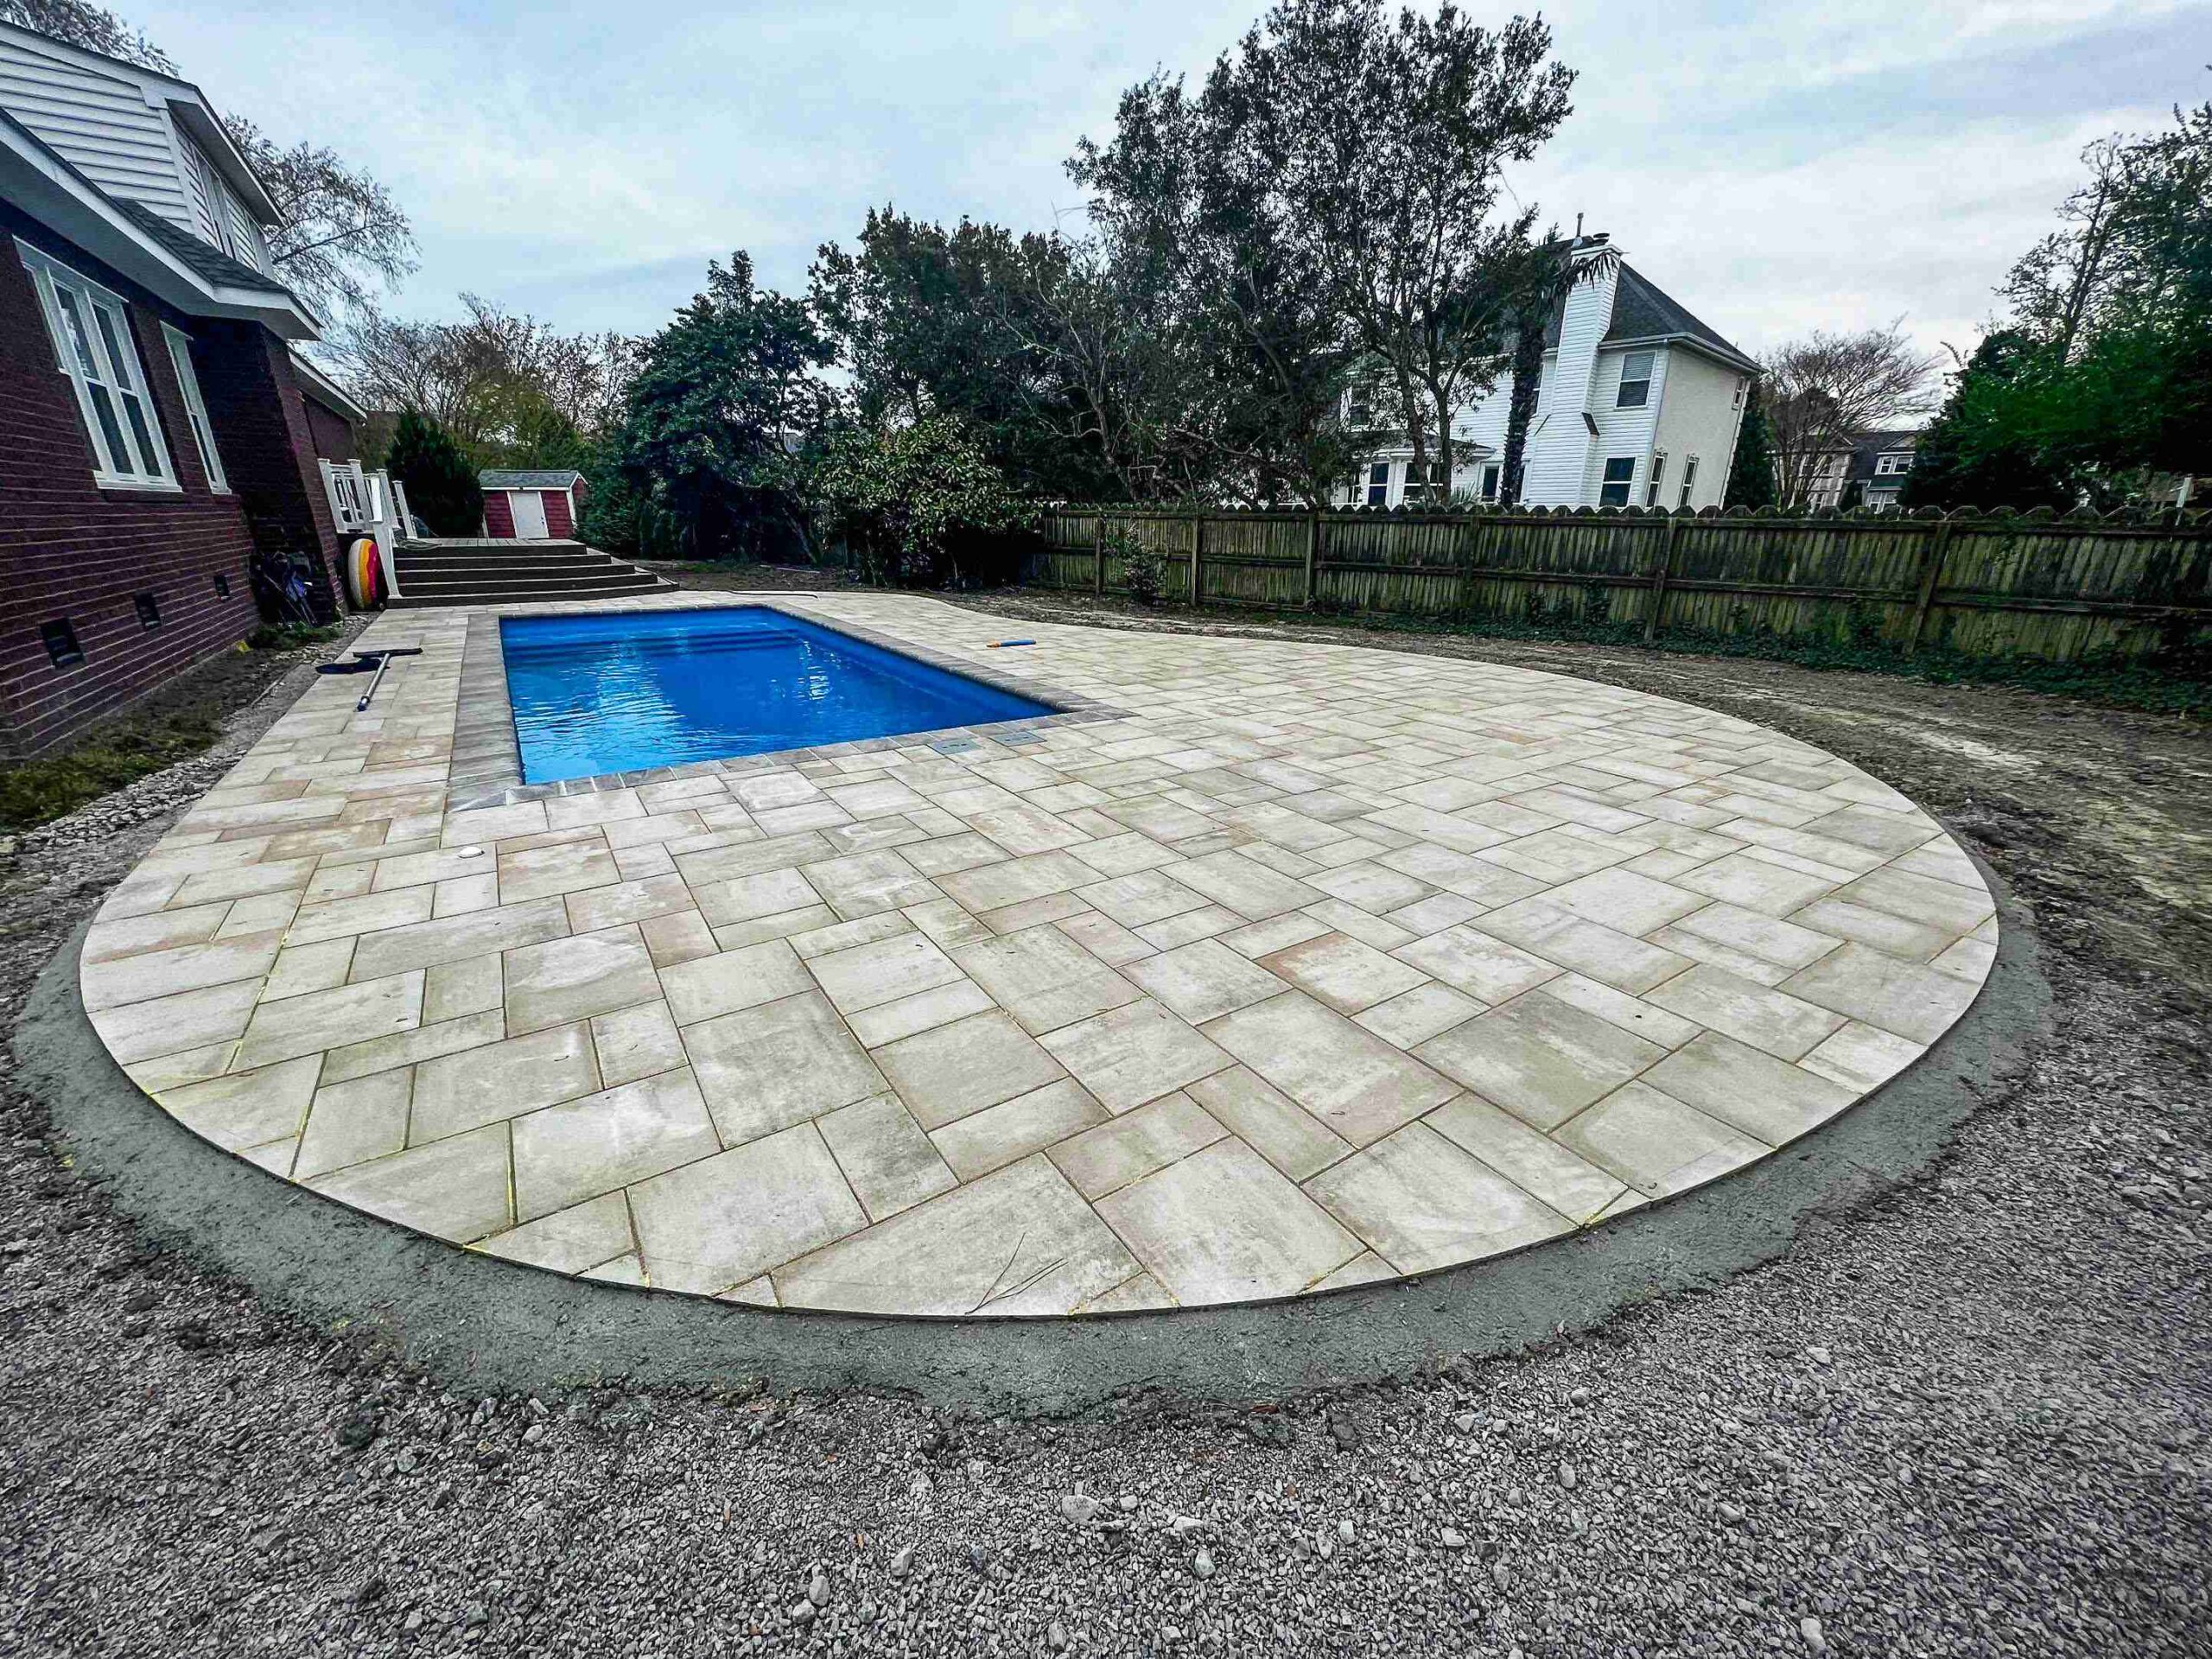
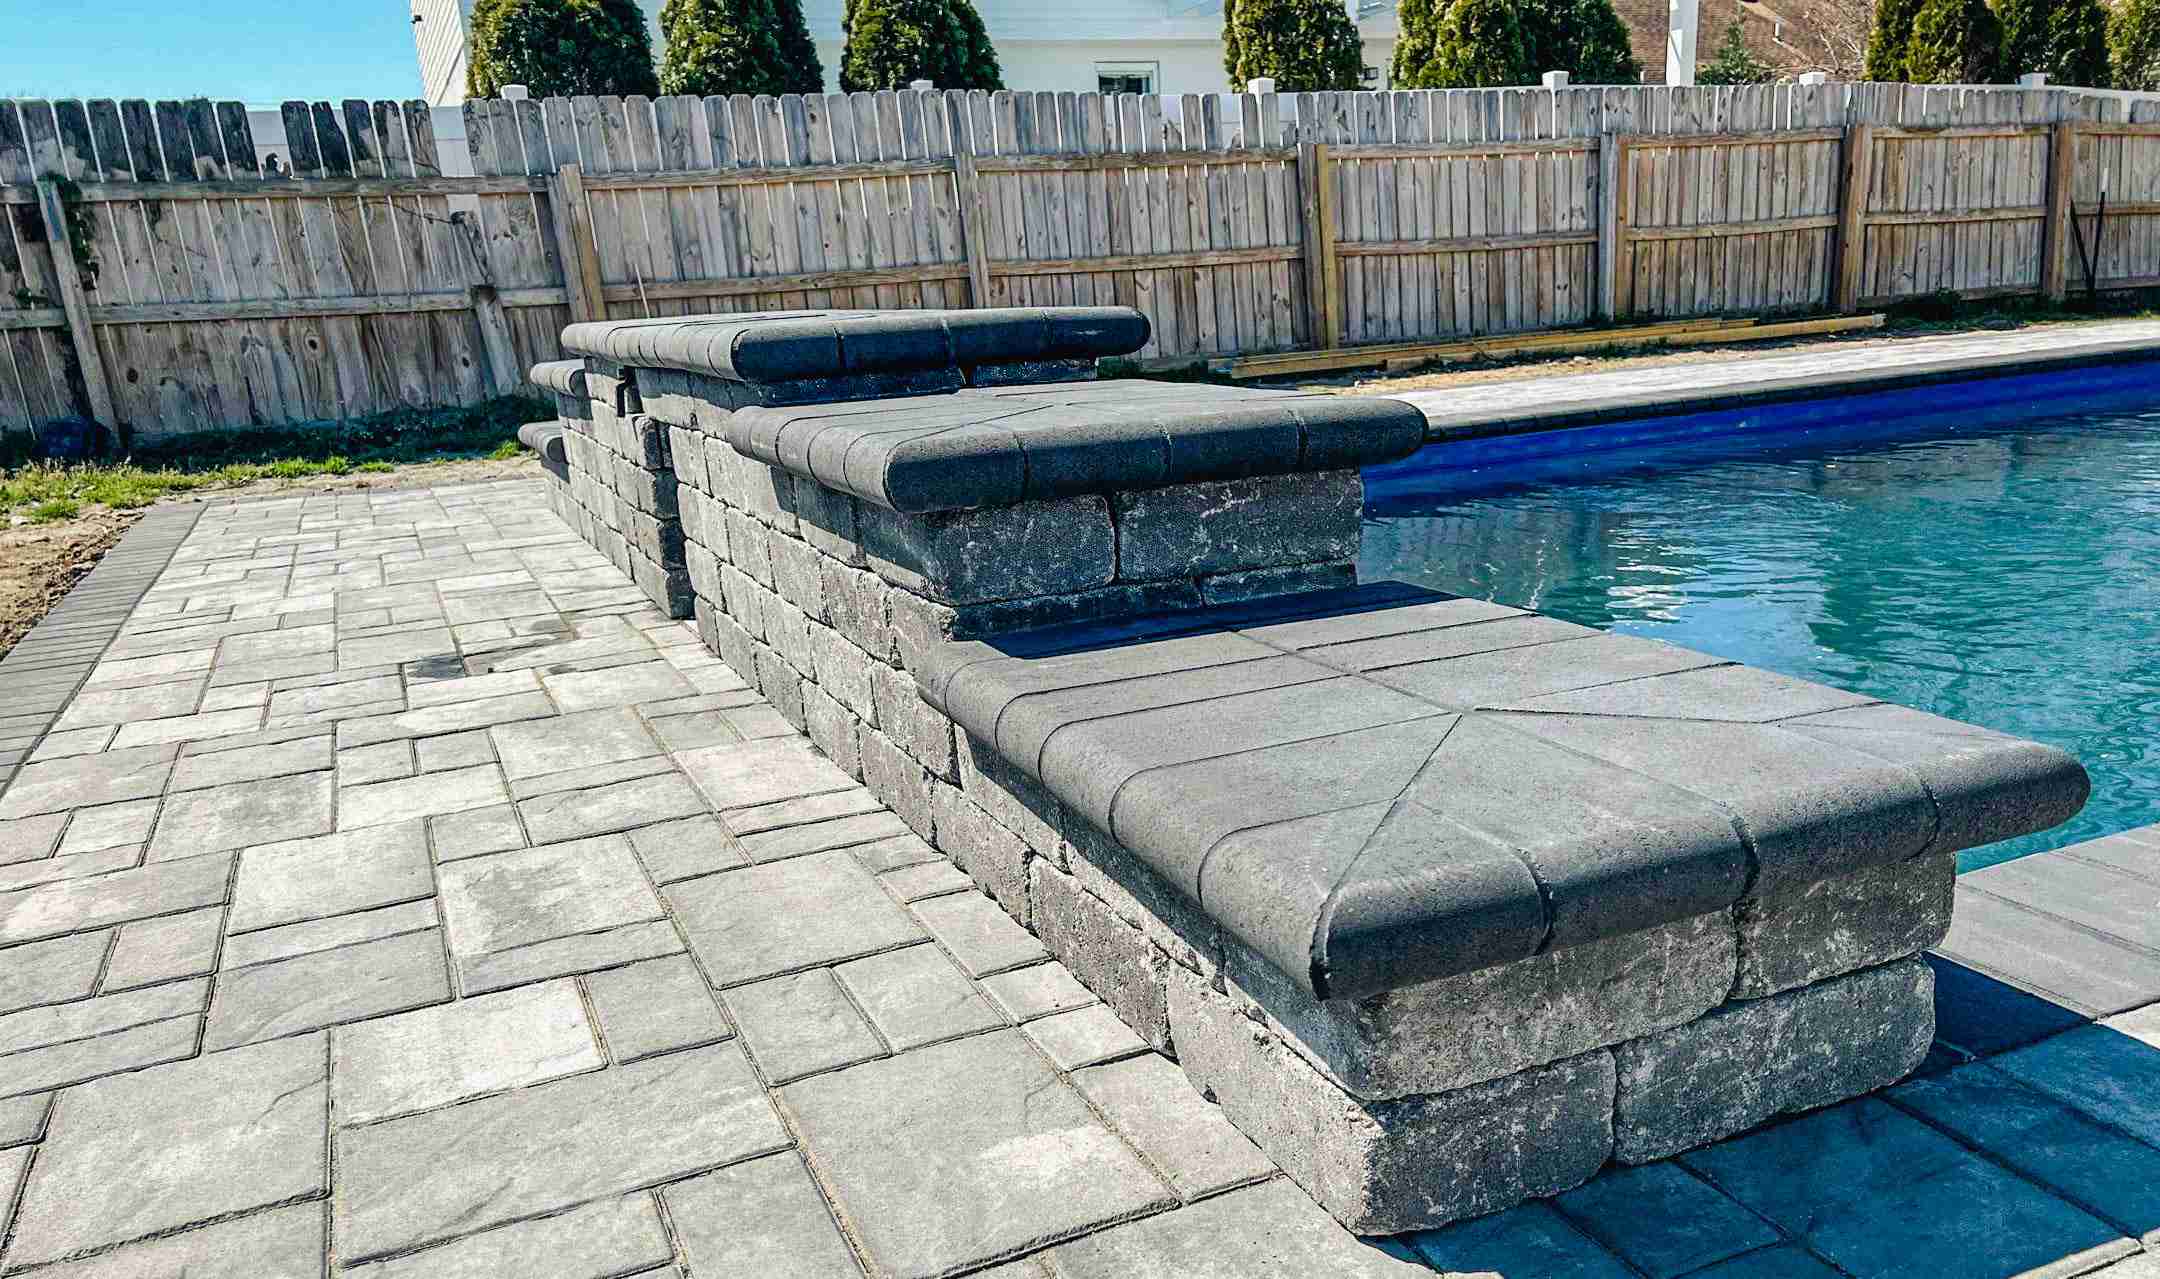
Step 6. Installing Coping and Decking
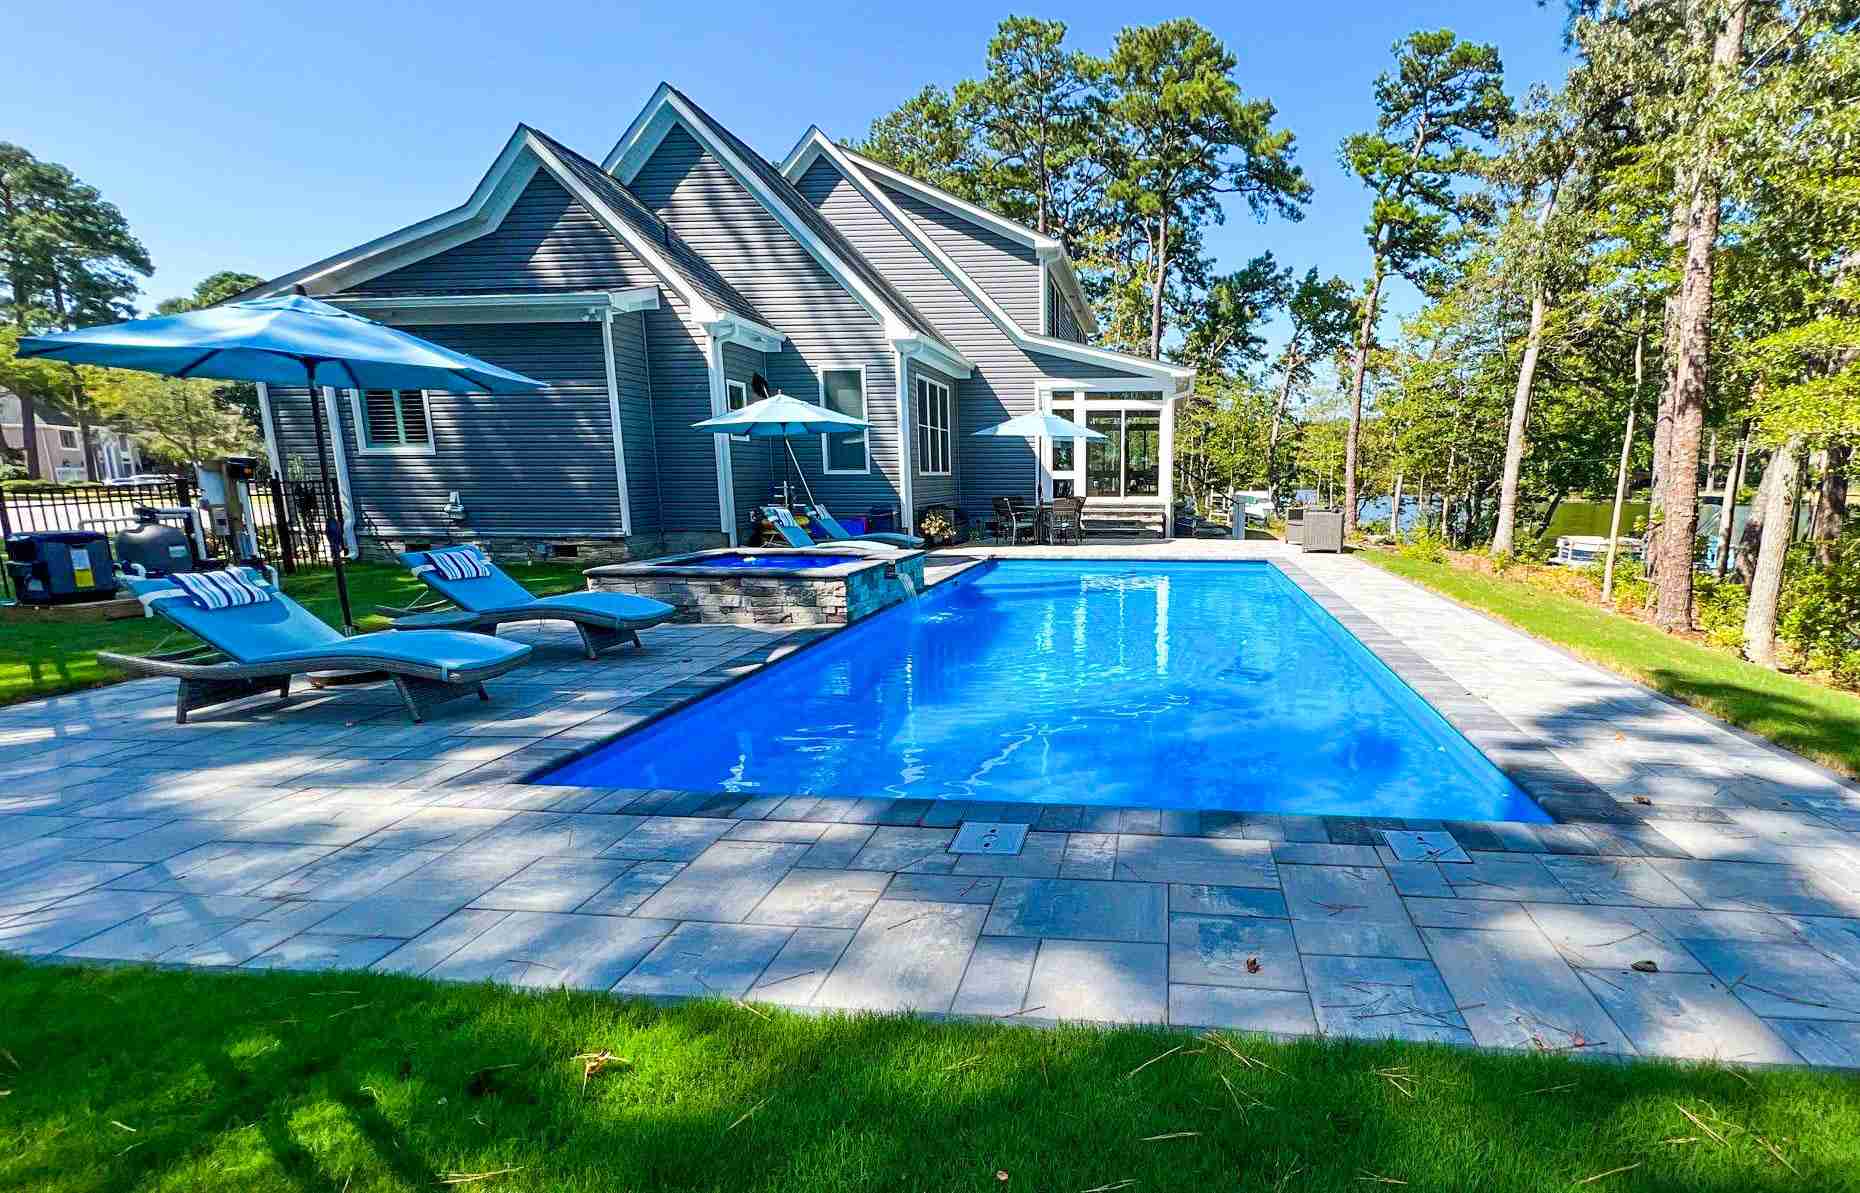
With the pool shell secure and the major installation steps completed, it’s time for the creative finishing touches. Pool coping, the edge around your pool’s perimeter, not only adds a visually pleasing element but also provides a safety feature, offering a non-slip surface for wet feet. You can customize from standard concrete coping to upscale options like pavers, travertine, stones, or bricks according to your aesthetic preferences.
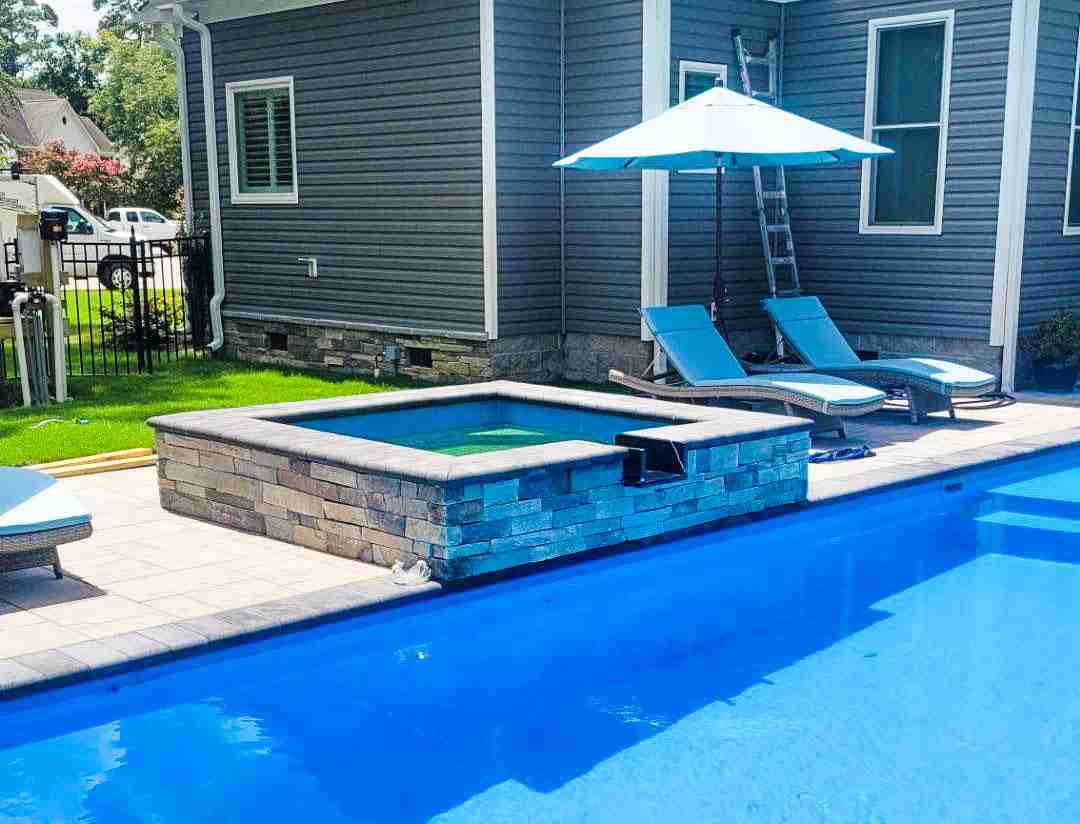
Finally, we move on to decking—the area surrounding your pool, where you’ll place lounge chairs, tables, or even an outdoor kitchen. Whether you envision a simple concrete deck or an elaborate paver patio, our team can bring your vision to life.
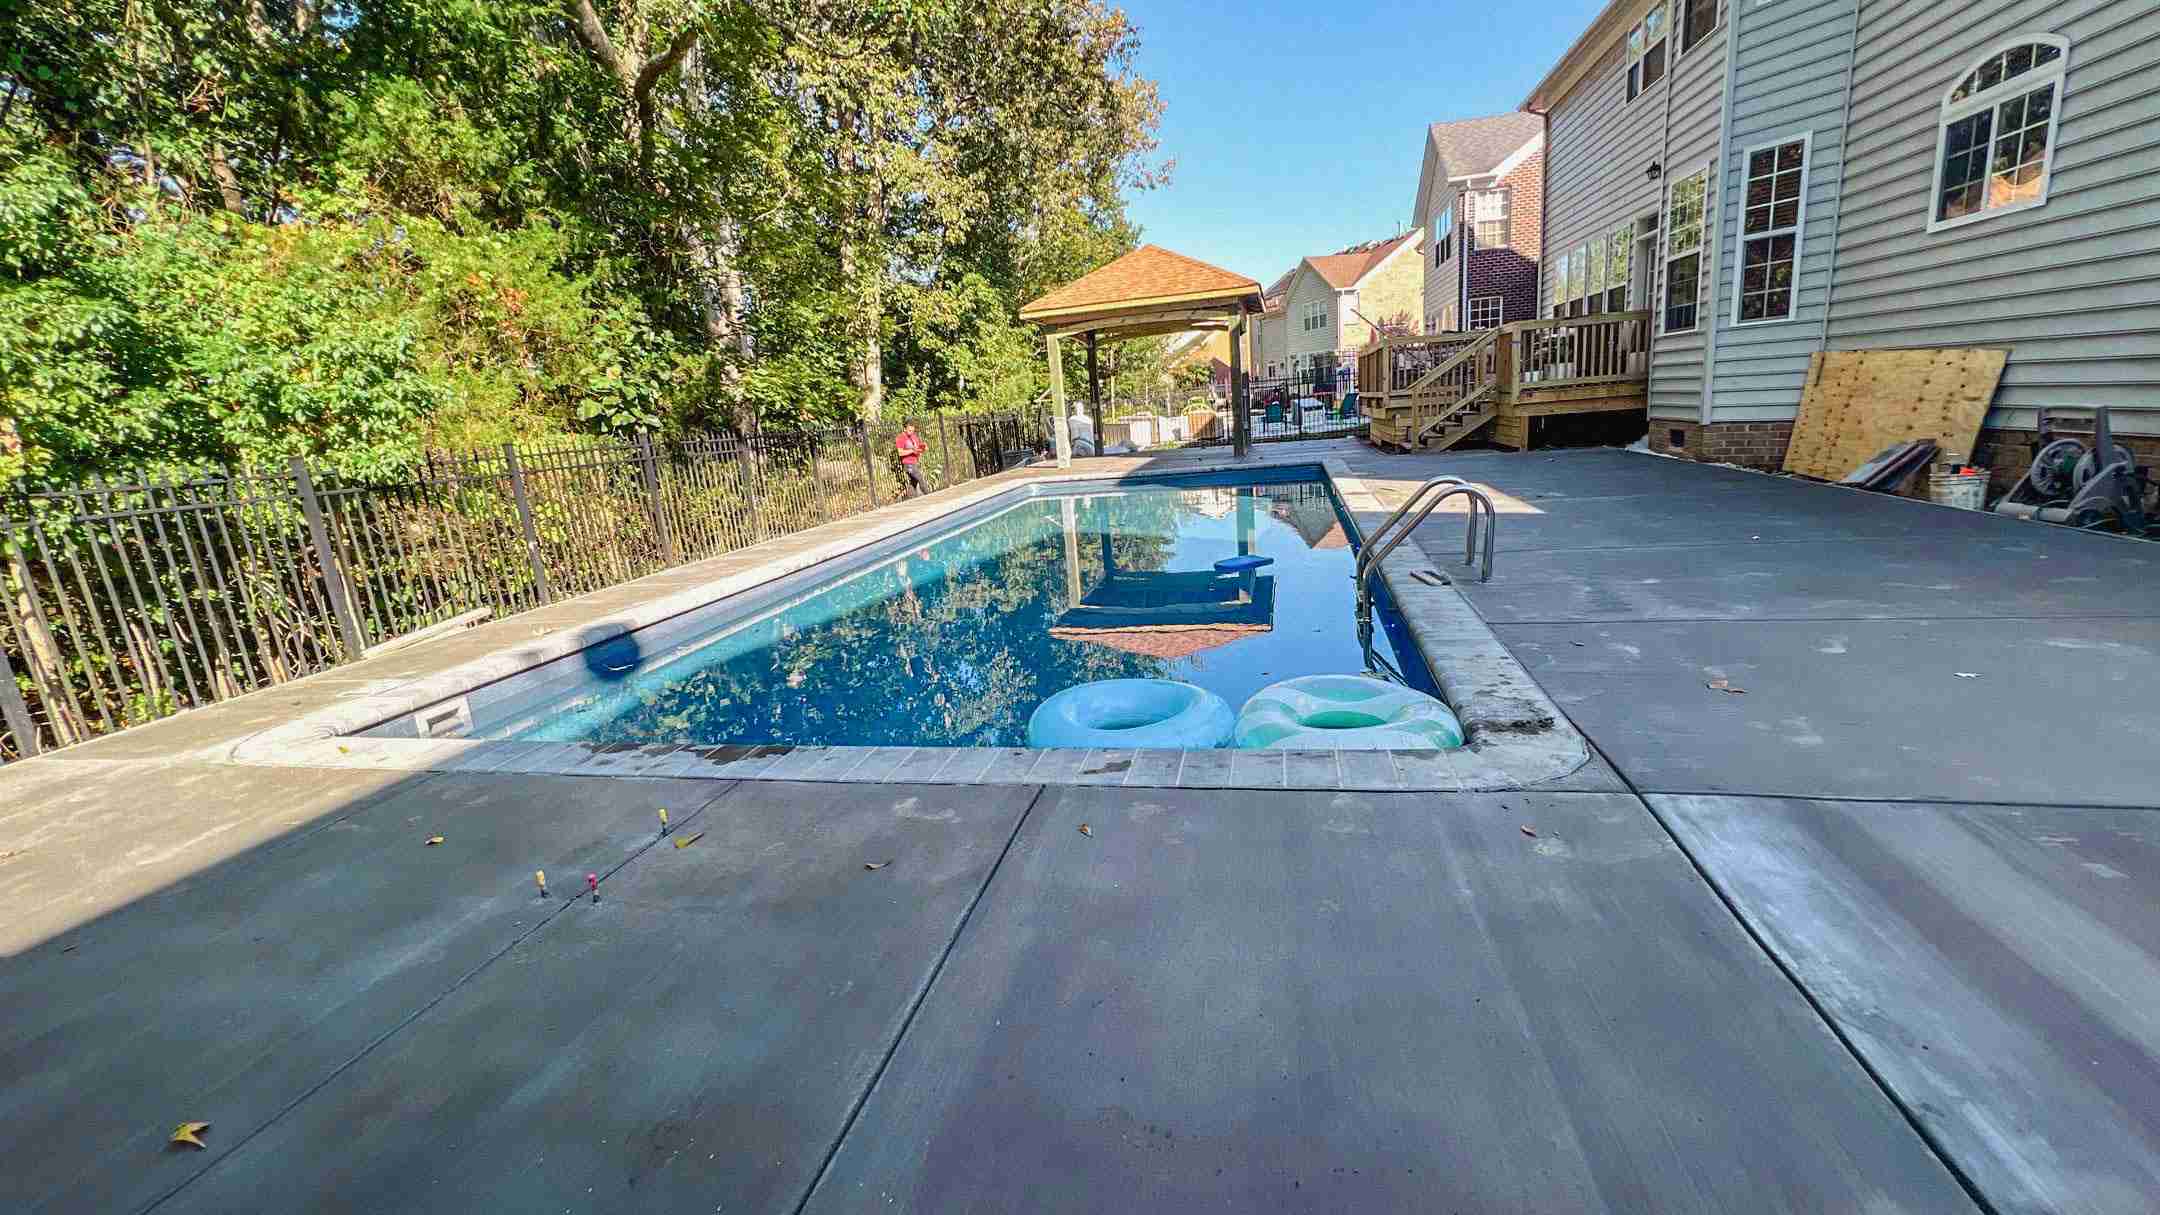
Final Step. Erecting a Fence
The last step in the pool installation process is one of the most crucial for safety: fencing. Within a month of your pool’s installation, a 4ft tall fence is typically required. The fence should have a self-closing, self-latching gate that swings away from the pool for optimal safety. Following the fence installation, your local authority must conduct a final inspection before the pool can be officially opened.
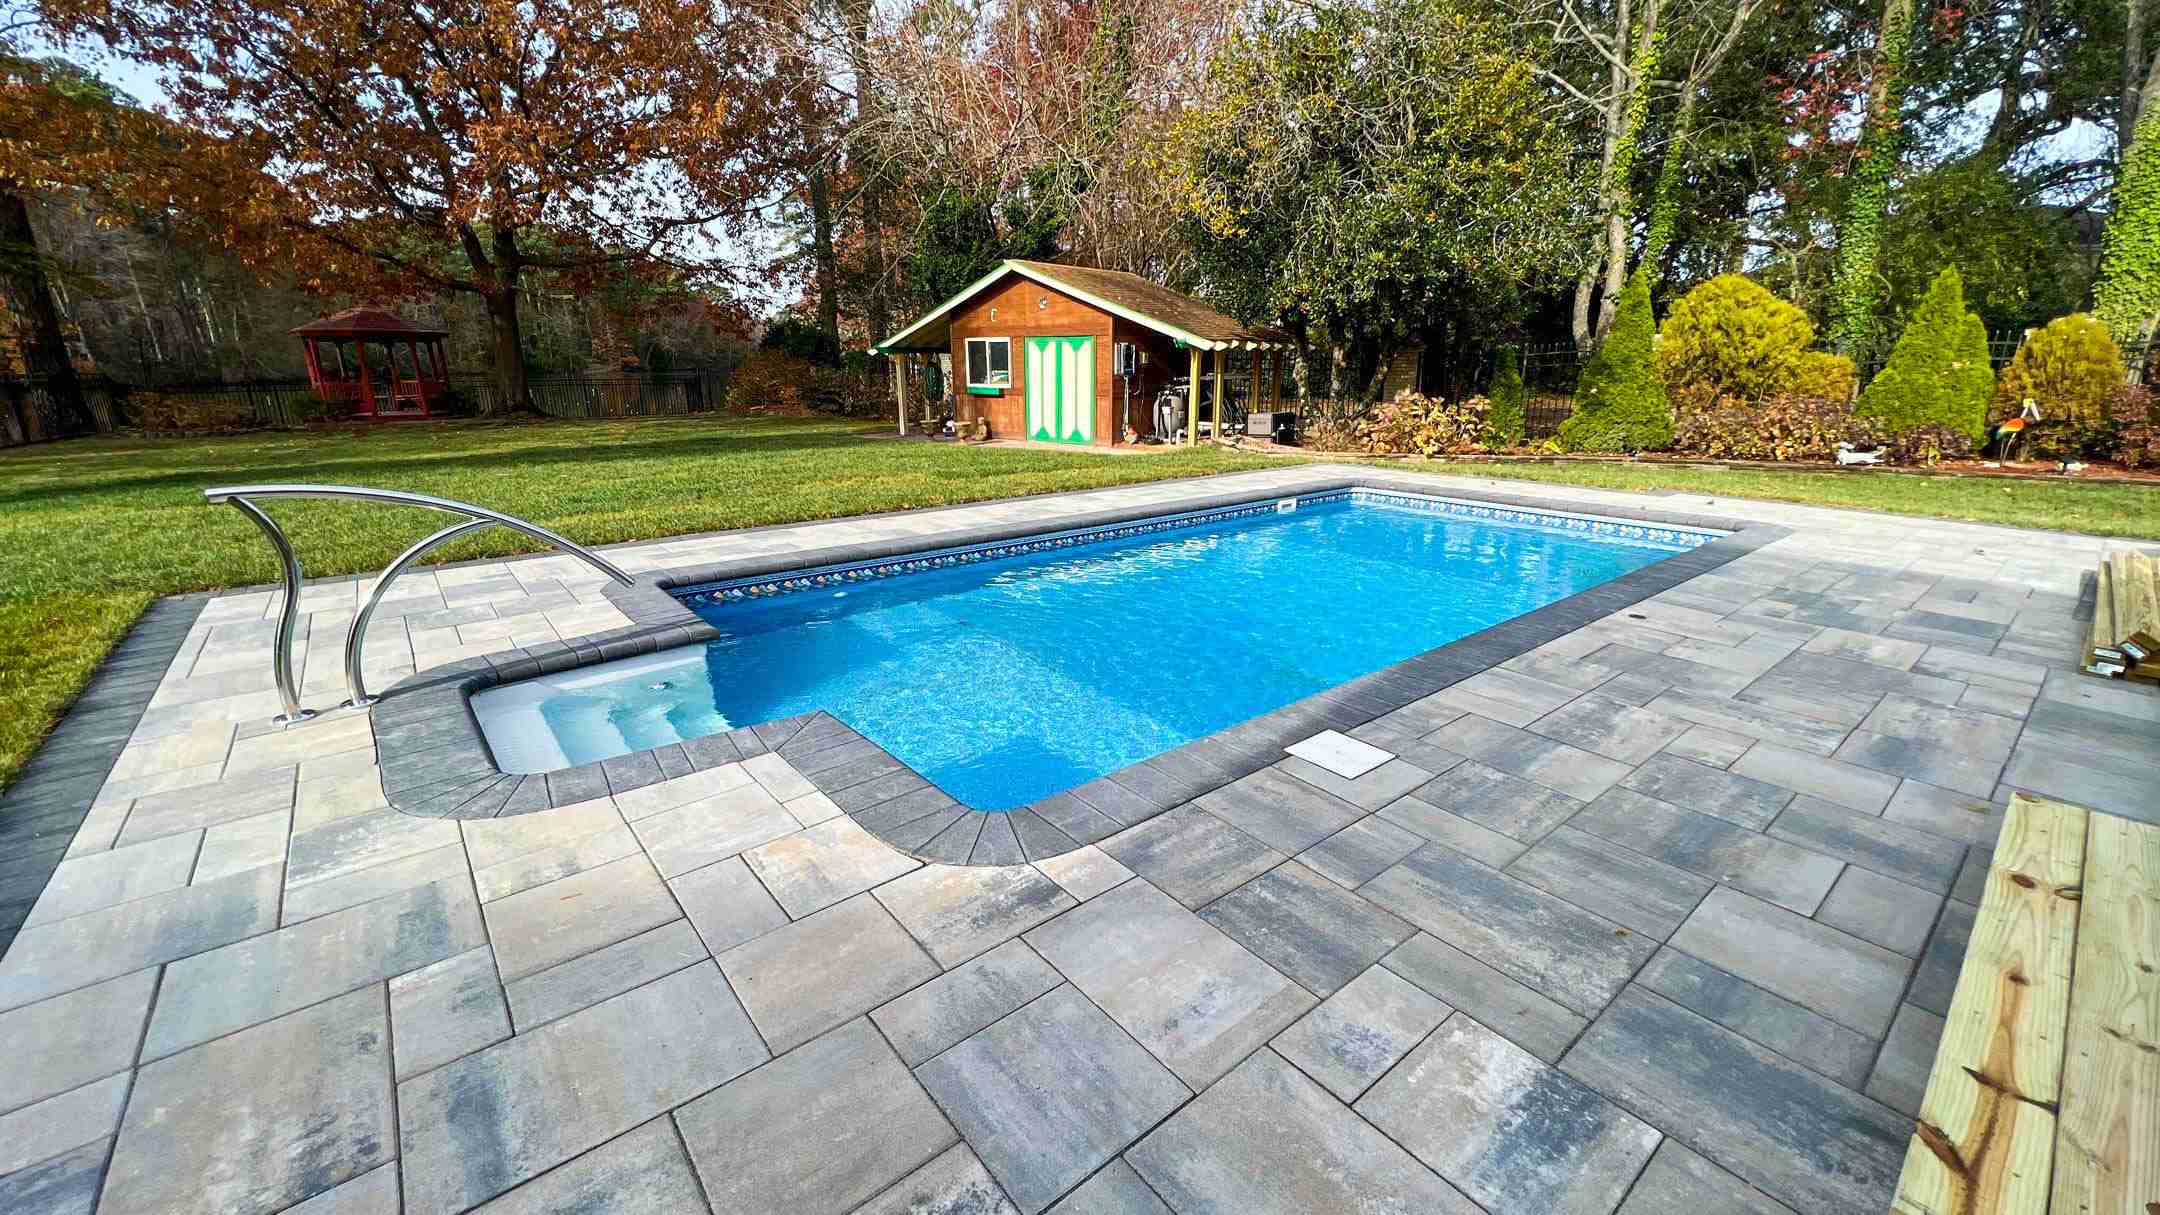
The installation journey of your fiberglass swimming pool may seem complex, but with the right pool contractor, it’s a well-coordinated process that transforms your backyard into a personal oasis. So, are you ready to take the plunge and make a splash in your new pool? Remember, the joy of pool ownership outweighs the complexity of the installation process, making it all worthwhile. Bringing your dream pool to life doesn’t have to be a daunting process. PoolForce handles the intricacies of pool installation while you focus on the fun parts—like planning your first pool party or thinking about the relaxation that awaits you. Let’s make a splash together!